
Add a staff member and choose their roles

Tobias Gundry
Updated
Staff access controls what each teammate can see and do in Clovo. Every account has the standard Staff access for everyday bookings, clients, classes and tasks. Add an additional role when someone needs access to studio setup, financial information or client records.
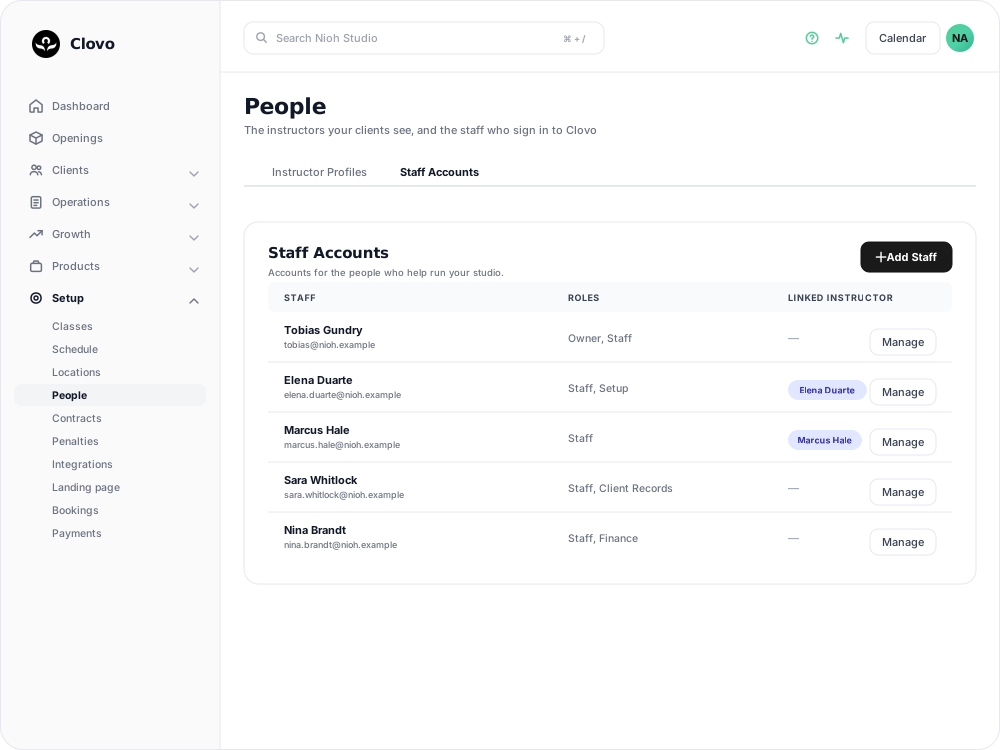
Create the staff profile
An owner needs to create the account and choose its additional roles.
- Open Setup → People → Staff Accounts and choose Add Staff.
- Enter their name, email and phone number.
- If they teach and you want their appointments to reach them, choose their public profile under Linked Profile. See Linking public instructor profiles to staff accounts.
- Turn on Web Dashboard Access if they need to sign in to the dashboard. This makes the additional roles available.
- Under Additional Roles, choose the roles they need, then save.
Clovo sends the new staff member an onboarding email explaining their access and a separate link to set their password. Ask them to use that email address and password to sign in.
A staff member without Web Dashboard Access can still use the admin tools in the iOS and Android apps. They cannot sign in to the web dashboard until you enable that setting.
Choose their additional roles
These roles sit on top of the base Staff access. An owner chooses the ones the person needs. For task-by-task access, combined roles and owner-only actions, see Staff roles and permissions.
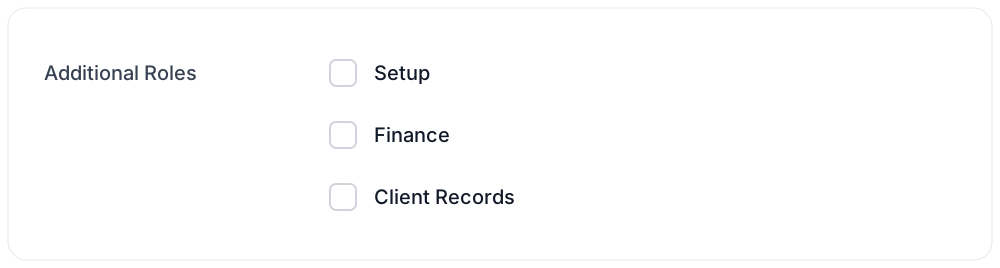
- Setup — configure studio schedules, classes and studio settings.
- Finance — access failed-payment recovery, protected payment details, invoices and Stripe data.
- Client Records — open client forms and Progress Notes, including note history and shared templates.
Additional roles are only available while Web Dashboard Access is on. Turning that off removes them.
An owner's roles cannot be changed, and owners always keep dashboard access.
Roles also decide which notifications reach them
Notification preferences are grouped by role. Everyone can receive the General group; Finance and Client Records notifications only reach people who hold those roles.
Granting a role makes that group available but does not switch anything on, so open the staff member's Notifications tab afterwards and turn on what they need. See Choose which notifications you and your staff receive.
Change a staff member later
Open Setup → People → Staff Accounts and choose the person. Their record has a Details tab for their name, linked profile, access and roles, and a Notifications tab where owners and staff with the Setup role can set what that person is told about.
Related articles
Staff roles and permissions
A detailed reference for Staff, Setup, Finance, Client Records and Owner access, including role combinations for forms, payments and staff management.
Understand the meaning of different plan statuses in Clovo
Use the status beside a client’s membership, credit pack or trial to understand whether they can use it and when their access changes.
Change the address shown on invoices
Choose your business address or a studio location as the From address on new client invoices and receipts.
Customise your dashboard layout
Turn dashboard cards on or off, put them in the order you want, and choose where the activity timeline sits — all saved to your own staff account.