
Create custom pages on your landing page

Tobias Gundry
Updated
Add pages for your studio story, frequently asked questions or what to bring to a first class. Published pages appear in your landing page navigation, so visitors can find this information alongside your timetable and products.
Create a page
- Go to Setup → Landing page and open Custom pages.
- Select Add page.
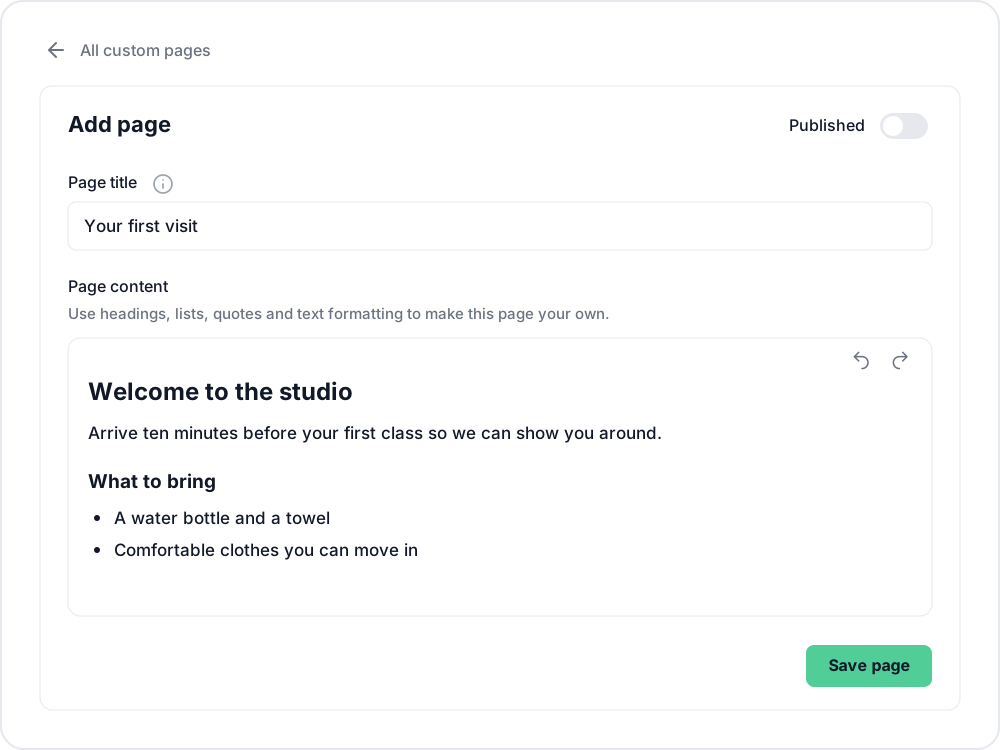
- Enter a Page title, such as “Your first visit”. This is the name visitors will see in the navigation; keep it within 60 characters.
- Write your Page content. Type
/to choose a heading, list or quote. Select text to make it bold, italic or underlined. - Leave Published off to save a draft, or turn it on when the page is ready for visitors.
- Select Save page.
You can have up to 50 custom pages, including drafts. If you reach the limit, delete an unused page before adding another.
Publish and view your page
Open the page from Custom pages, turn on Published, then select Save page. Your studio’s landing page must also have Published switched on in the Settings tab for visitors to access it.
The list shows whether each page is Draft or Published. Published titles appear alphabetically in your landing page navigation.

To see the result, reopen the published page and select View page. It opens in a new tab. You can copy that address to share the page directly with clients.
Update or remove a page
Select Edit beside the page, make your changes and select Save page.
To take a page offline while keeping its content, turn Published off and save. It disappears from the navigation and visitors can no longer open it using a shared link.
To remove it entirely, open the editor and select Delete page beneath the form. Use the Published switch instead if you want to keep the page for later.
For help with your main landing page, see enable browser based bookings and payments with landing pages.
Related articles
Add a Meta pixel and Google tags to your landing pages
Connect Meta and Google to your Clovo landing pages, publish your studio privacy policy, set up optional Google Ads conversions, and understand visitor consent and reporting.
Give your clients branded support
Every Clovo studio has a member-facing help centre, live right now, with no setup required. It sits on your landing page, it’s written in your studio’s voice, and it wears your branding.
Change the subdomain of your landing page
Every studio on Clovo gets a landing page as standard. Your landing page lives at a subdomain like yourstudio.clovo.app, and you can change this subdomain at any time to better match your brand name.
Enable browser based bookings and payments with landing pages
Clovo landing pages are designed to make it easy for potential clients to browse your offerings, book classes, and purchase memberships or credit packs — all from a web browser without needing to install the app.