
Customise the welcome email that is sent to new clients when they join

Tobias Gundry
Updated
You can now customise the welcome email your studio sends to new clients when they join.
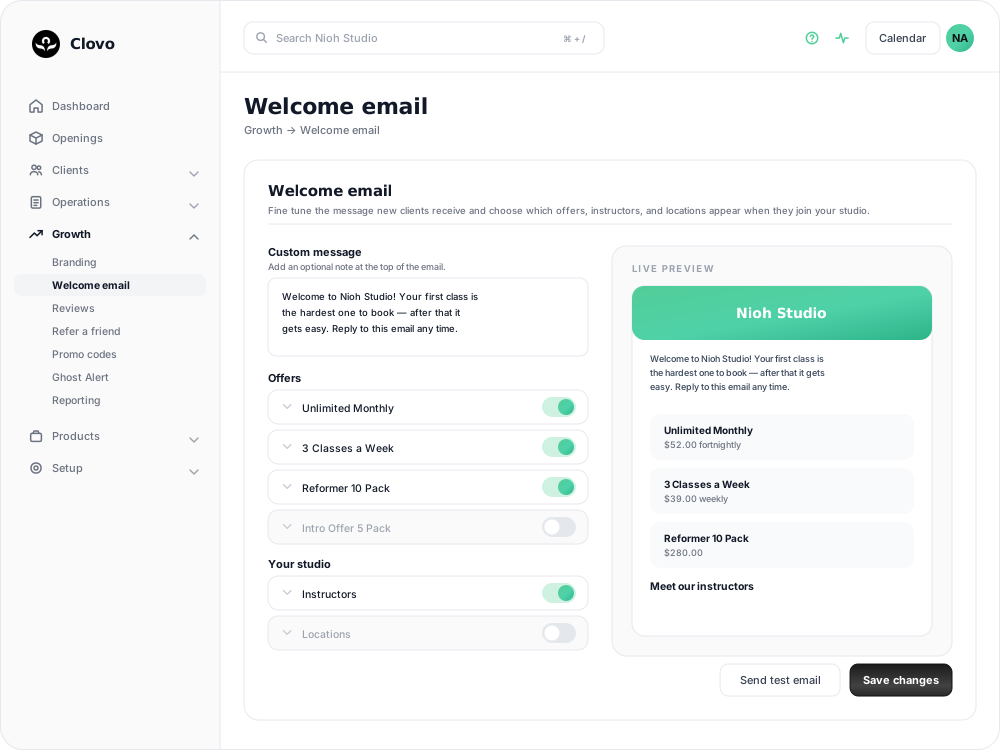
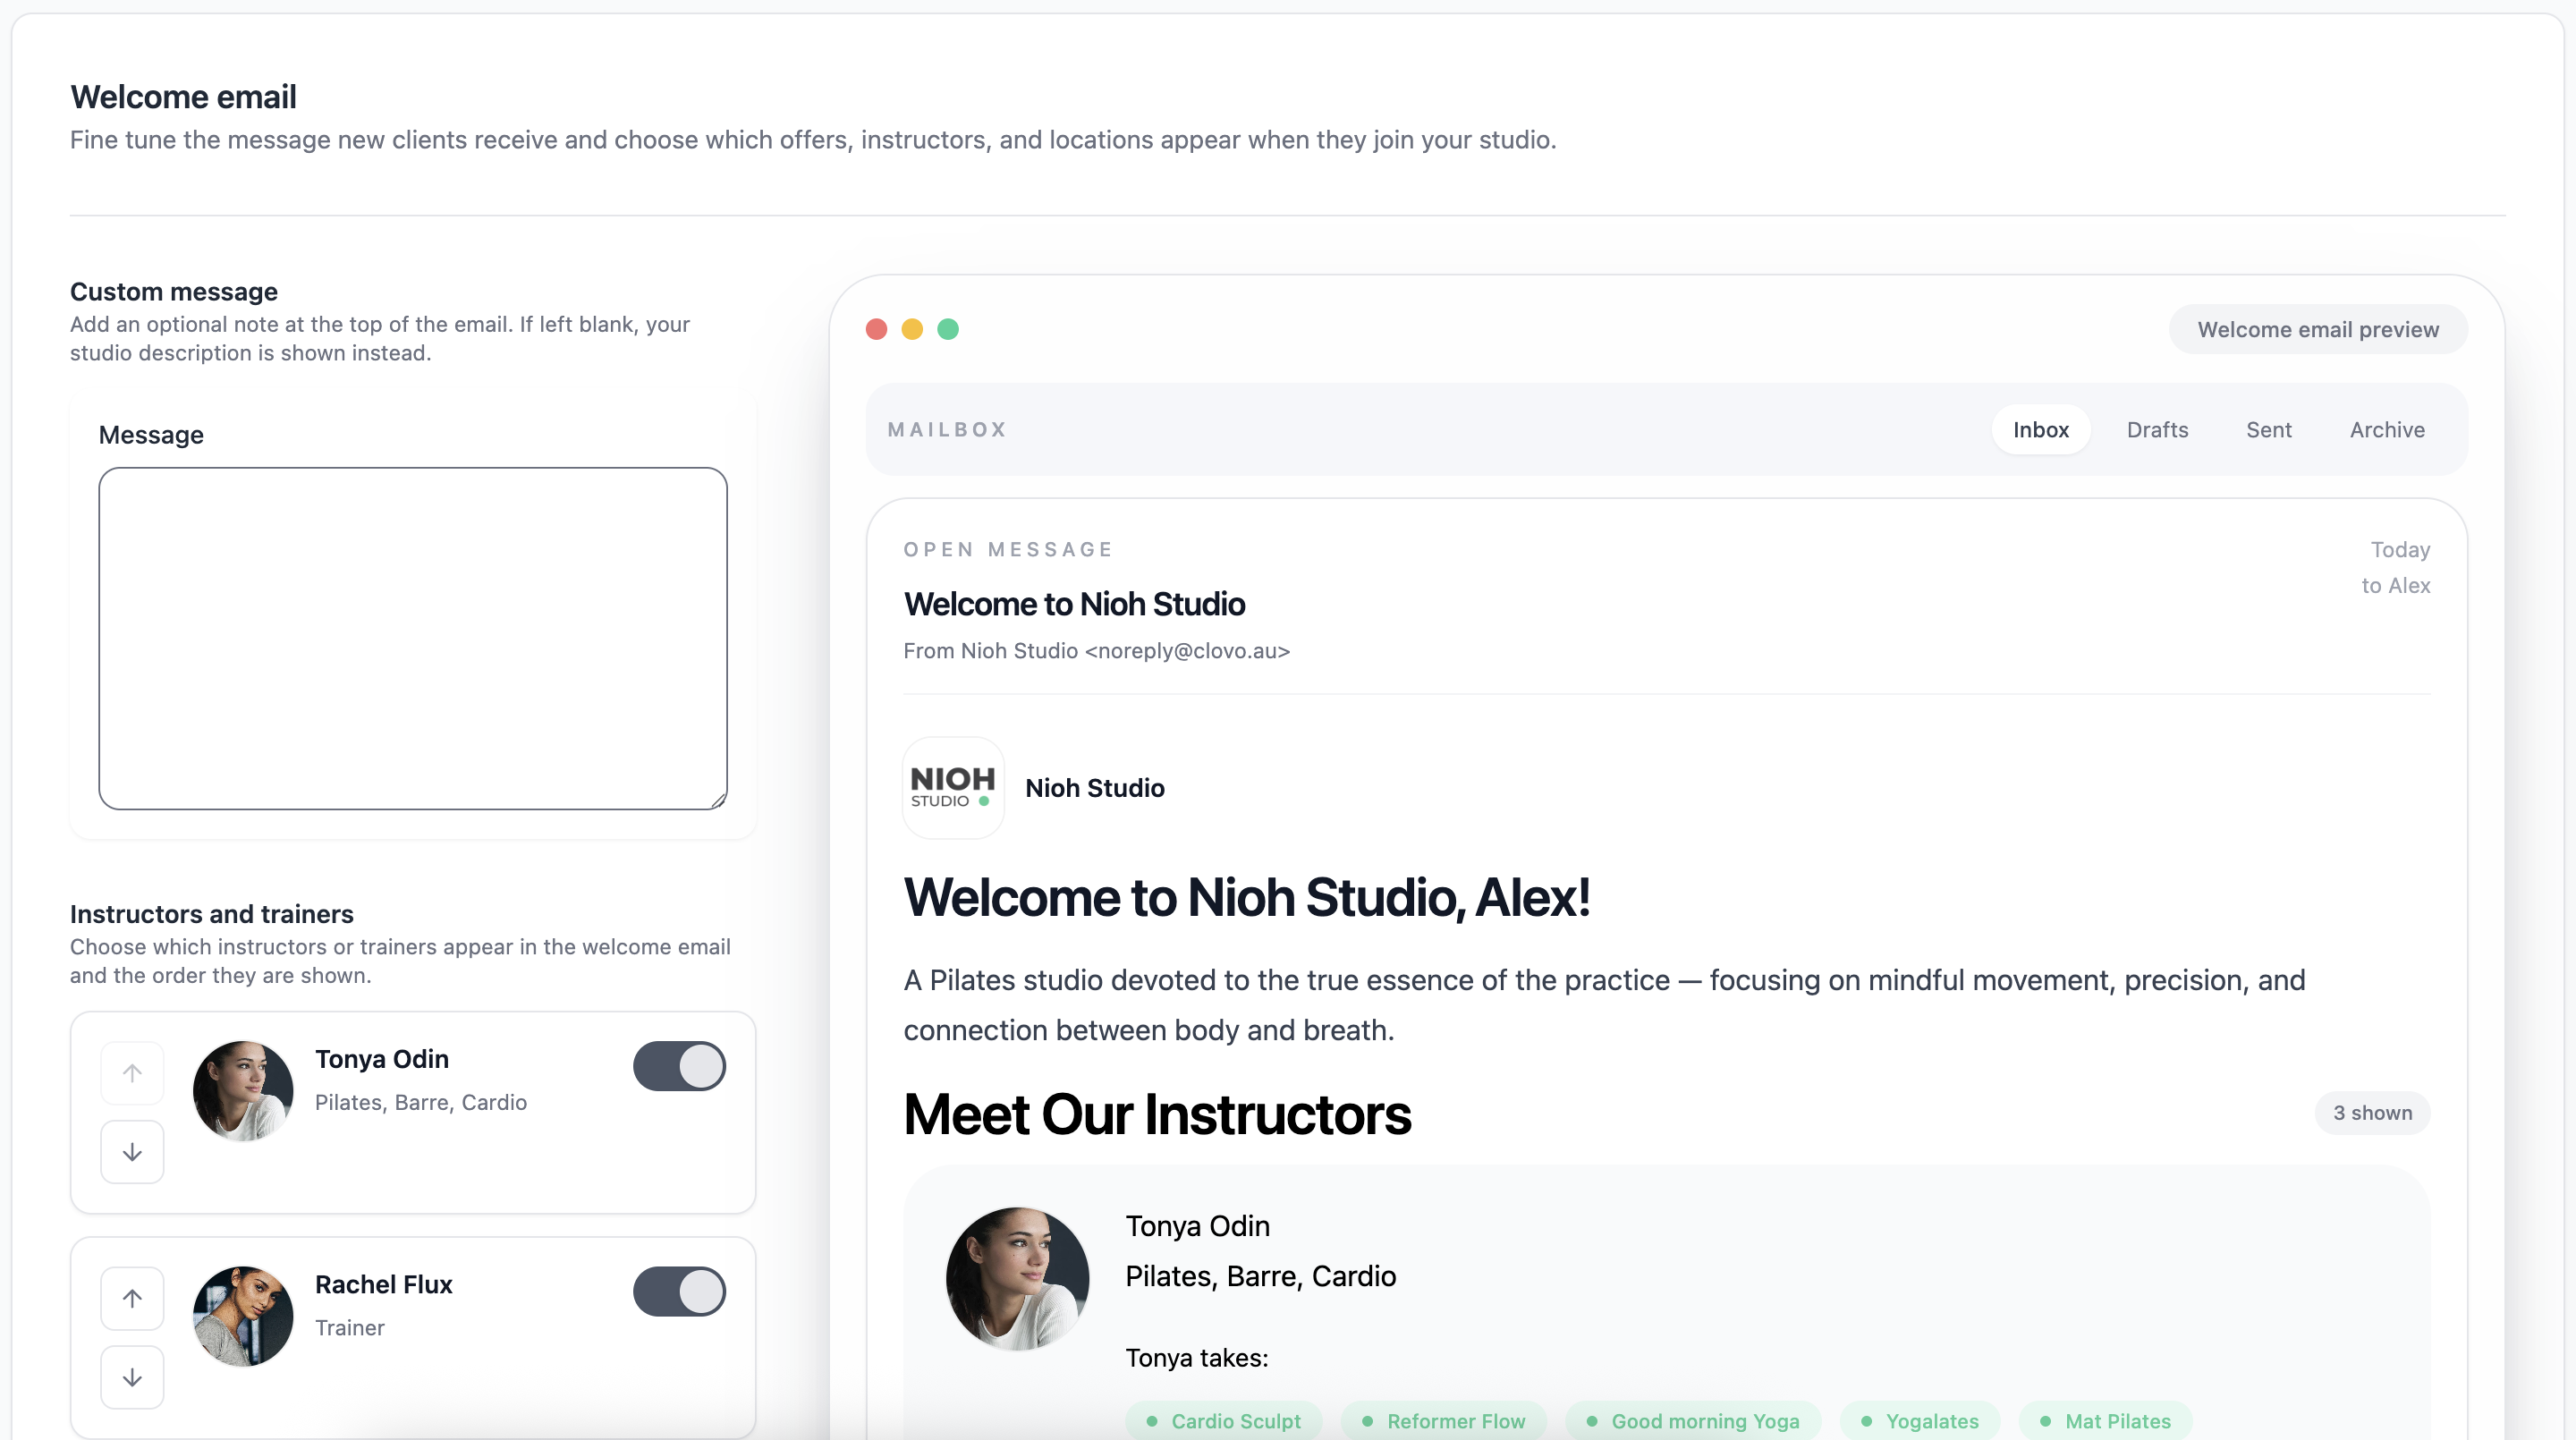
This lets you add your own welcome message, choose which offers and details appear in the email, and control the order they are shown in. A live preview on the right updates as you make changes, so you can see how the email will look before you save. If your studio sends forms automatically, the preview also shows the form notice new clients will receive near the top of the email.
What you can customise
In the Welcome email settings, you can:
-
Add a custom welcome message at the top of the email
-
Keep your formatting in that message, including line breaks and spacing
-
Choose whether to show or hide:
- Membership plans
- Packs
- Trials
- Instructors or trainers
- Locations
-
Change the order these sections appear in the email
-
Send yourself a test email to check the result
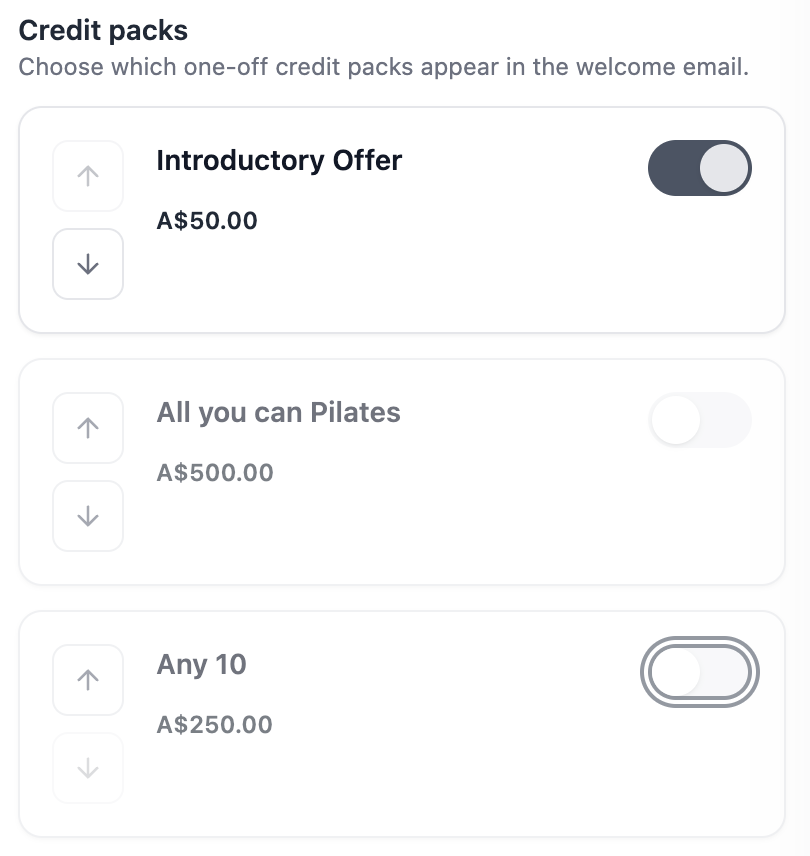
If you don’t want to customise your welcome email Clovo will choose safe defaults out of the box.
How automatically sent forms appear
When at least one active self-service form has Send automatically turned on, the welcome email includes a Form to complete or Forms to complete notice. It appears immediately below the greeting and above your custom welcome message.
The notice directs clients to their forms in the Clovo app. It also appears in the live preview and test emails.
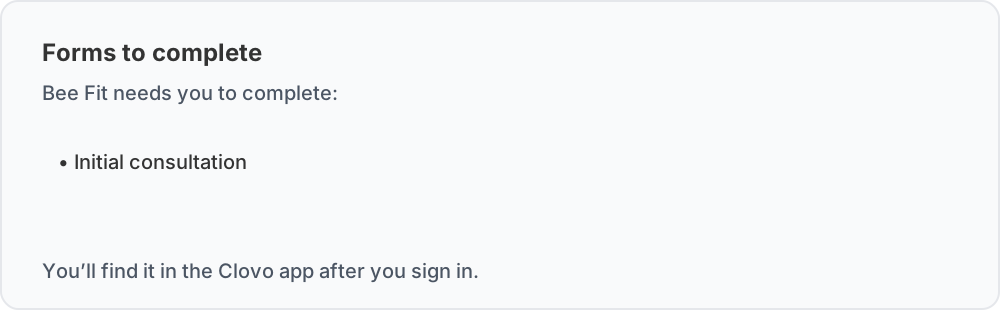
This notice follows the automatic-sending settings on your forms. It cannot be hidden or reordered from the Welcome email screen. To remove it from future welcome emails, turn off Send automatically on each form that should no longer go to every new client. See send forms to clients automatically for the form setup and client experience.
How to update your welcome email
-
In the dashboard, go to Growth → Welcome email.
-
Add or edit your custom message.
-
Use the controls on each item to:
- Show or hide it
- Move it up or down
-
Check the live preview on the right as you make changes.
-
Click Save changes to save your settings.
If you would like to send yourself a copy at the same time, click Save and send test email instead. The test email is sent to the email address of the user who is currently logged in.
How the preview works
The preview shows your changes as you make them. Email apps may display the layout slightly differently, so send yourself a test email to check it.
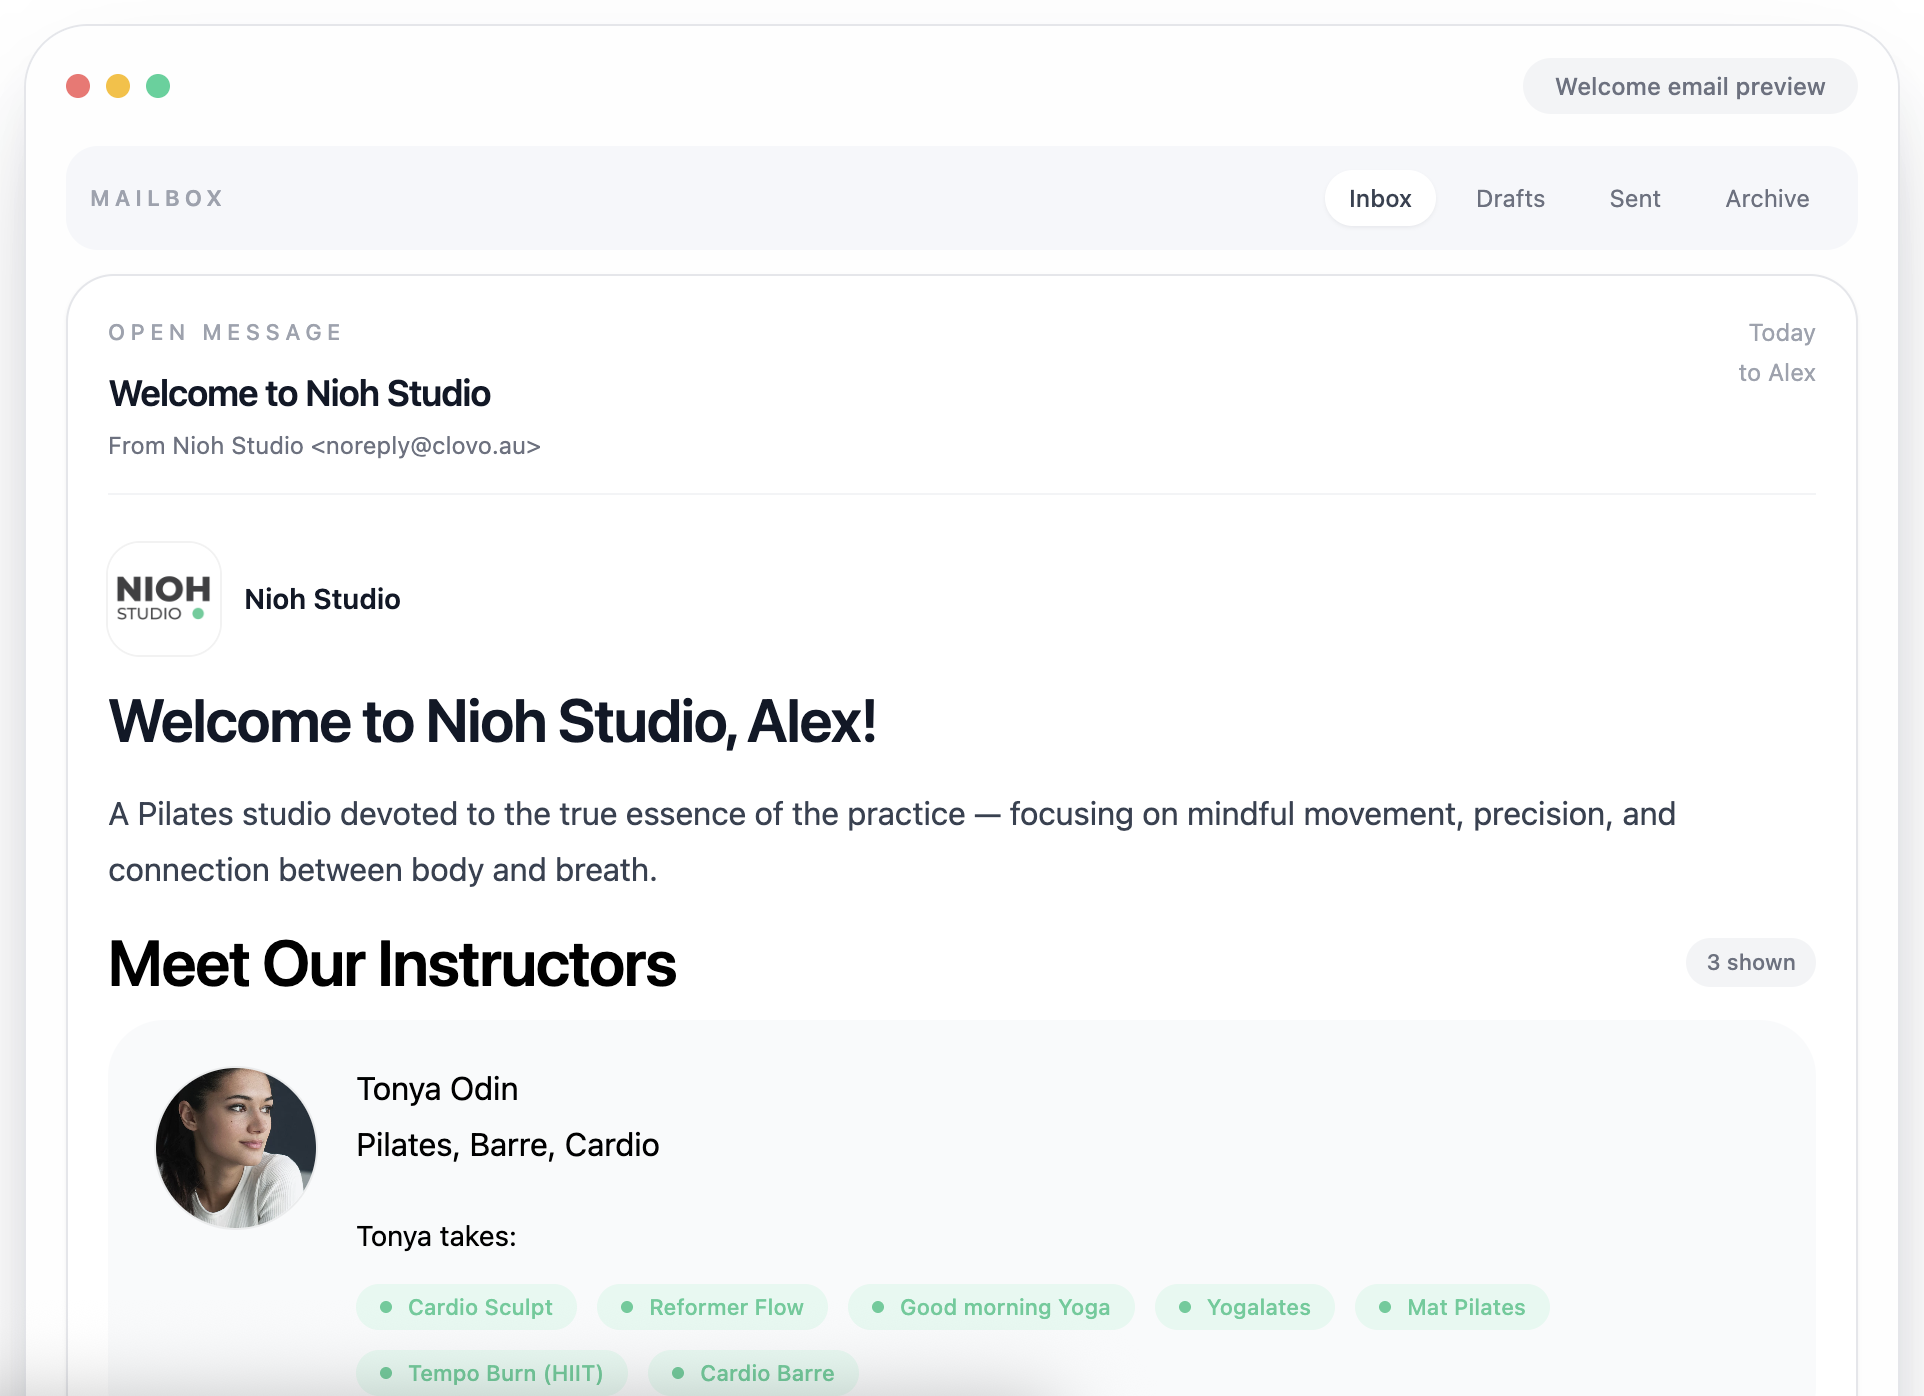
Your changes apply to future welcome emails.
Tips
- Use the custom message to give new clients a warm introduction and explain what to do next.
- Keep the email focused by hiding offers or locations that are not relevant to new joiners.
- Send yourself a test email before making the changes live, especially if you have updated the order or hidden certain sections.
Related articles
Change the reply to address for your studio
Choose where replies go for client emails and staff onboarding emails.
Give your clients branded support
Every Clovo studio has a member-facing help centre, live right now, with no setup required. It sits on your landing page, it’s written in your studio’s voice, and it wears your branding.
Set up a refer a friend program
Set up a refer a friend program that rewards both people, then let Clovo grant the benefits, monitor the minimum spend and track each referral.
Send an announcement to clients
Use announcements for timetable changes, closures and other updates that need a consistent message.