
Getting started with the Member Shop

Tobias Gundry
Updated
The Member Shop is where you sell physical merchandise to your members — grip socks, mats, towels, water bottles. You add products in the dashboard, members pay for them online or at the front desk, and they collect the item from one of your studio locations.
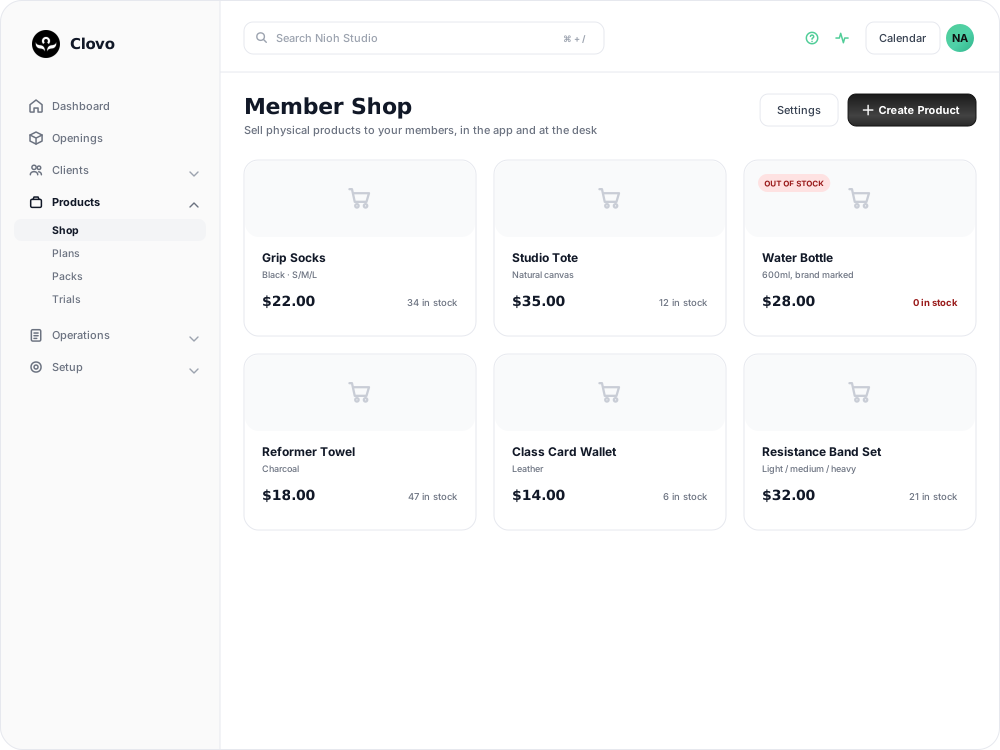
You will find it under Products → Shop in the dashboard sidebar.
What the shop can and cannot sell
Two rules shape everything else, and neither has a setting you can change.
Physical items only. The product form carries a permanent notice that digital products are prohibited — the shop is for real items a member can pick up.
Pickup only, never delivery. Checkout collects no delivery details. Instead the buyer chooses which of your studio locations to collect from, and that choice is limited to the locations you attach to the product. Postage, shipping and courier arrangements sit outside Clovo entirely.
Before you add your first product
- At least one studio location. Every product needs one or more pickup locations, and stock is counted separately at each one. Until a location exists, the product form tells you to create one first. See set up and manage your studio locations.
- Stripe connected. Purchases run through your Stripe account. Without one connected, a sale stops with a message that the studio is not set up to accept payments — the product will still be listed, so a member can reach checkout and be turned away. See connect Stripe and check your payment settings.
- Owner or Setup access. The Shop screens are available to staff with the Owner or Setup role. Staff on other roles will not see them.
- A price of $5.00 or more. The form will not accept anything lower.
Where members meet your shop
- Your landing page. A Shop tab appears in your landing page navigation as soon as you have one product. Anyone can browse the listing; choosing Purchase asks them to sign in first.
- The Clovo app. Products appear in the Shop section of your studio’s page.
- The front desk. Staff can sell a product to a client from that client’s profile using POS Purchase, the same screen used for memberships and credit packs. See sell a shop product to a client at the front desk.
However the sale was made, it lands in the same place for your staff to fulfil.
The three tabs
The Shop area has three tabs across the top.
- Shop — the product grid, and where you create and edit products. Each card shows the price and the quantity on hand at each pickup location. See how to create a product in the Member Shop.
- Sales — every paid order, and where you mark an order as picked up once the member has collected it. See tracking and fulfilling Member Shop sales.
- Shop Settings — Automatically create tasks, which decides whether each paid sale also raises an unassigned task for staff to work through.
A product goes on sale the moment you save it
There is no draft state, no hide switch and no way to delete a product. Save it and it is listed on your landing page and in the app straight away.
Stock is what controls whether anyone can actually buy. A product with nothing on hand is still listed, but it carries an OUT OF STOCK badge and its purchase control is unavailable.
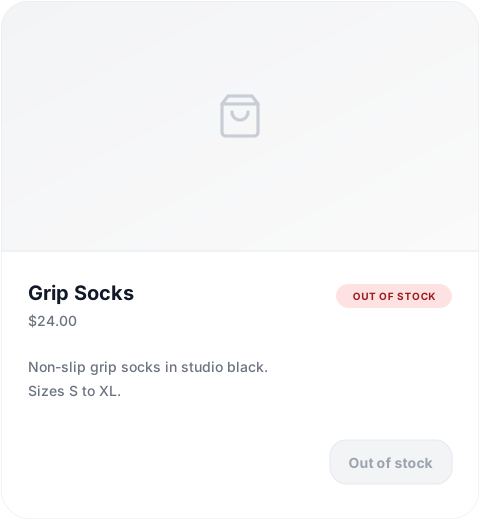
This changes how you handle two common situations.
- Retiring an item. Let the remaining stock sell down, or adjust it to zero. The product stays visible in the listing, permanently marked out of stock.
- Preparing an item in advance. Create it with no starting quantity. It appears immediately, but nobody can buy it until you add stock. If you would rather members did not see it at all, wait until you are ready before creating it.
Clovo will not let stock fall below zero, so two members buying the last unit at the same moment cannot oversell it. See managing stock and inventory in the Member Shop.
Editing a product does not change past sales
A sale keeps the title, description, SKU and price it was sold at. Raising a price or rewriting a description changes what future buyers see and pay; the orders already on the Sales tab, and the amounts your members were charged, stay as they were.
Related articles
How to create a product in the Member Shop
Work through the product form field by field, including the $5.00 minimum price, the pickup locations you cannot detach later, and the fact that a saved product cannot be deleted.
Managing stock and inventory in the Member Shop
The Member Shop includes a complete stock management system that tracks inventory separately for each of your studio locations. Every stock change is recorded in a detailed ledger so you always have a clear history of what happened, when, and why.
Tracking and fulfilling Member Shop sales
Read the Sales tab, mark an order as picked up, and choose whether every paid sale also creates a task for your staff.
Sell a shop product to a client at the front desk
Take a Member Shop product through POS Purchase: choose the pickup location, take the card payment, and know what reaches the member afterwards.