
Change the date and time of existing openings

Tobias Gundry
Updated
When one class needs to start an hour later or shift to another day, you can move that opening on its own. The bookings travel with it, and Clovo tells the clients who hold them.
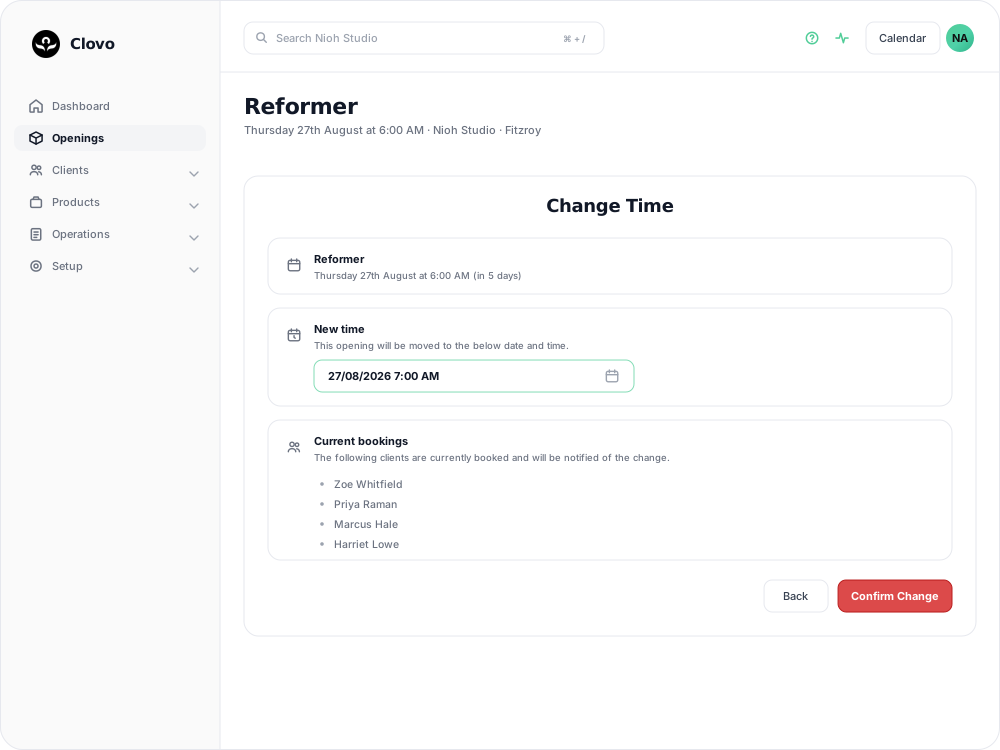
Move an opening to a new time
-
Go to Openings and select the class you want to move.
-
In the header of the opening, select Change Time.

-
Under New time, set the new date and time. Clovo reads what you enter in the timezone of the location the class runs at, so enter the local start time your clients there will see.
-
Read the Current bookings panel. It lists every client who is booked, and those are the people who will be told about the move.
-
Select Confirm Change.
Two entries are refused, and nothing moves in either case:
- A date and time that has already passed — New time is in the past. Please select a time in the future.
- The time the opening already has — New time is the same as the original time. Please select a different time.
You stay on the Change Time screen, so you can correct the time and confirm again.
What your clients receive
Each booked client gets a push notification and an email headed "Your class time has changed", naming the class and showing both the original time and the new one. Their booking moves with the class, so nobody needs to rebook and no one loses their spot. Everyone with admin access to your studio is notified as well.
Because Clovo has already contacted everyone who is booked, there is no need to send a separate announcement about the move.
Only this opening moves
Changing the time affects that single opening. The schedule it came from is untouched, so next week's class still runs at its usual time. To shift a class permanently, edit the schedule instead — see Changing class schedules with existing openings.
Once an opening has been moved it carries a Moved from label with its original date and time, both on the Openings list and at the top of the opening. If you move it a second time, that label keeps showing the opening's original time, not the time you moved it from.
When Change Time is not available
Change Time is offered on upcoming openings only. Once a class has started, or has been cancelled — including a class cancelled by a studio closure — the Cancel and Change Time buttons no longer appear on it. A class that has already run cannot be moved to a different time after the fact.
Related articles
Show your timetable on your studio’s website
Copy an embed code from Clovo Dashboard to place your live class timetable on your own website, with weekly and monthly views your visitors can switch between.
Share your timetable with clients, wherever they are
Your landing page is a public, always-current timetable anyone can open without the app. Share the whole thing, a single class, a social image, or embed it in your own website.
Hide class numbers from clients
Show clients whether a class has space, without showing how many people have booked or how many places it has.
Close the studio for a date range
Record a closure so Clovo stops opening classes at that location, then cancel the openings already on the timetable and extend or pause the memberships the closed days run through.