
What does the customer journey look like?

Tobias Gundry
Updated
Follow a new customer through the Clovo app, from finding your studio and exploring its classes to signing up, purchasing a pack and booking their first session. Along the way, see the emails and phone notification they receive.
The illustrations use the iPhone app for Nioh Studio, with example customer, product and class details. Customers will see your studio’s branding, products and classes. Screens may look different on Android.
- Find the studio: download Clovo and select your studio.
- Explore: browse the Studio and Book tabs as a guest.
- Sign up: complete both sign-up screens in the app.
- Receive a welcome email: your studio introduction arrives by email.
- Purchase a pack: choose a pack and pay in the app.
- Receive purchase details: an email confirms the purchase, with a receipt.
- Book a class: choose a session and confirm the booking.
- Receive confirmation: the app and an email confirm their place.
- Get a reminder: a push notification or email arrives the evening before class.
1. Find the studio in Clovo
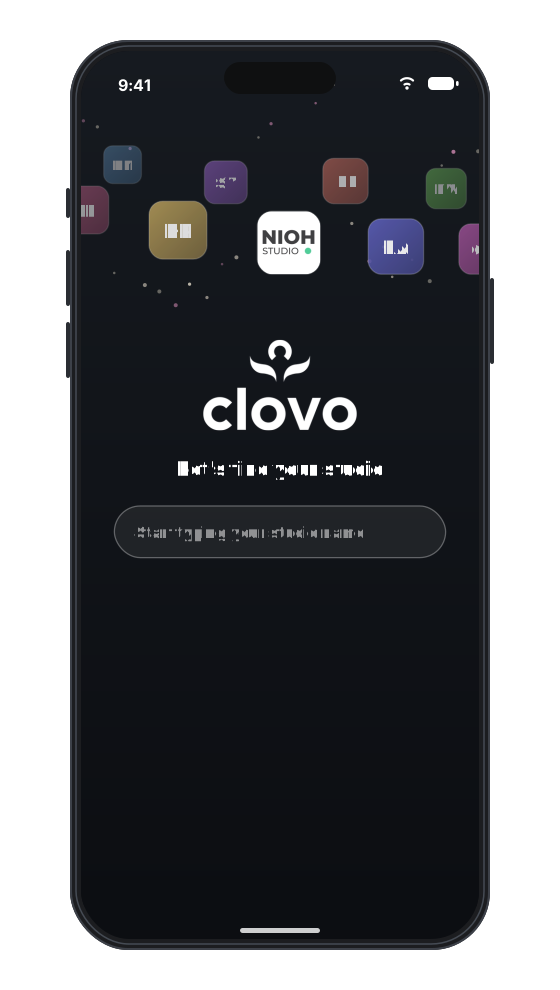
After discovering your studio through a recommendation, your website or social media, the customer downloads Clovo for iPhone or Android. Your app download link takes them to the right store for their phone.


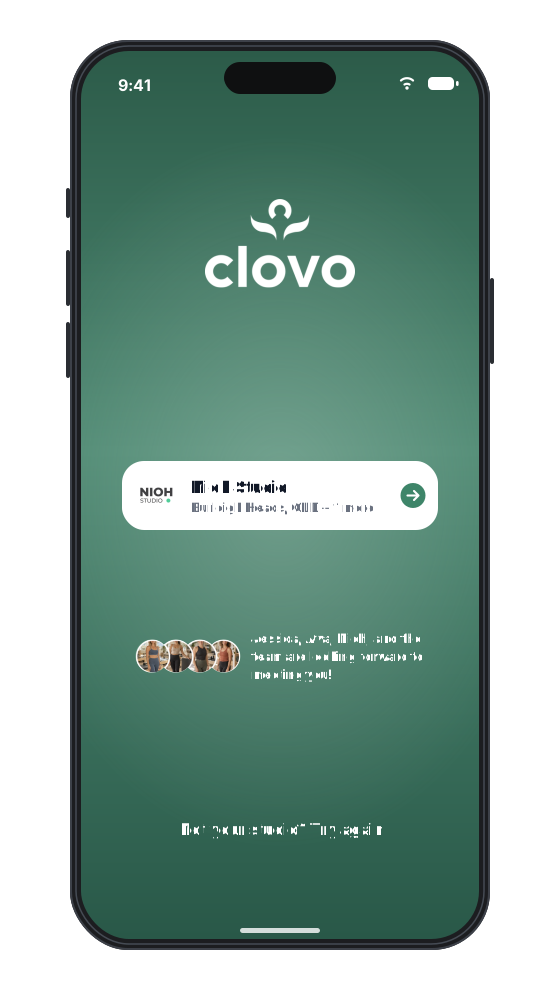
On the first screen, they start typing your studio’s name, check the suburb and tap your studio to continue.
2. Explore the studio and its classes
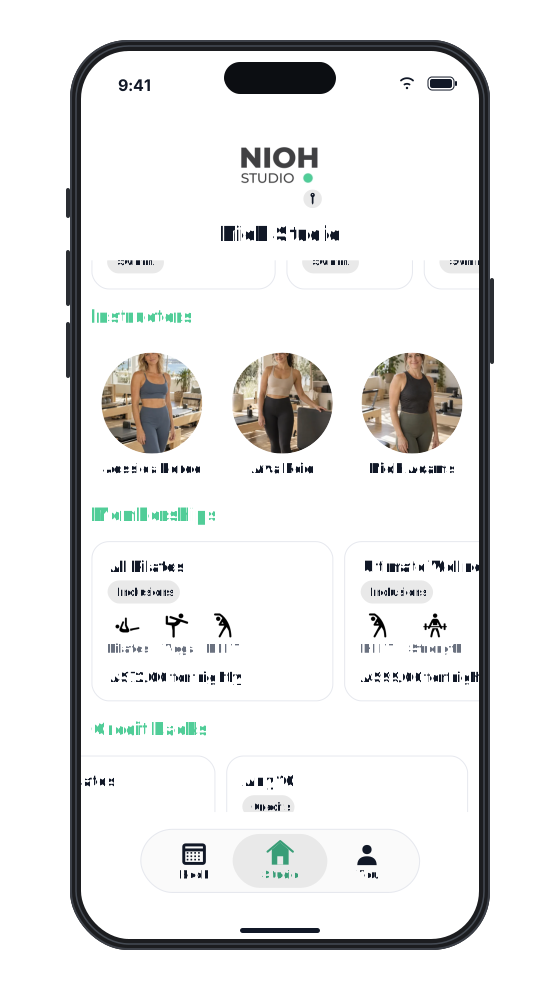
The customer can look around as a guest. Studio shows your published classes, instructors, memberships and credit packs. Book shows the timetable and available sessions.
They can swipe through the rows to browse, then tap a membership or pack to see what it includes before buying.
3. Sign up in the app
The customer opens You and taps Sign up. Someone who already has a studio account can use the password or sign-in code options instead.
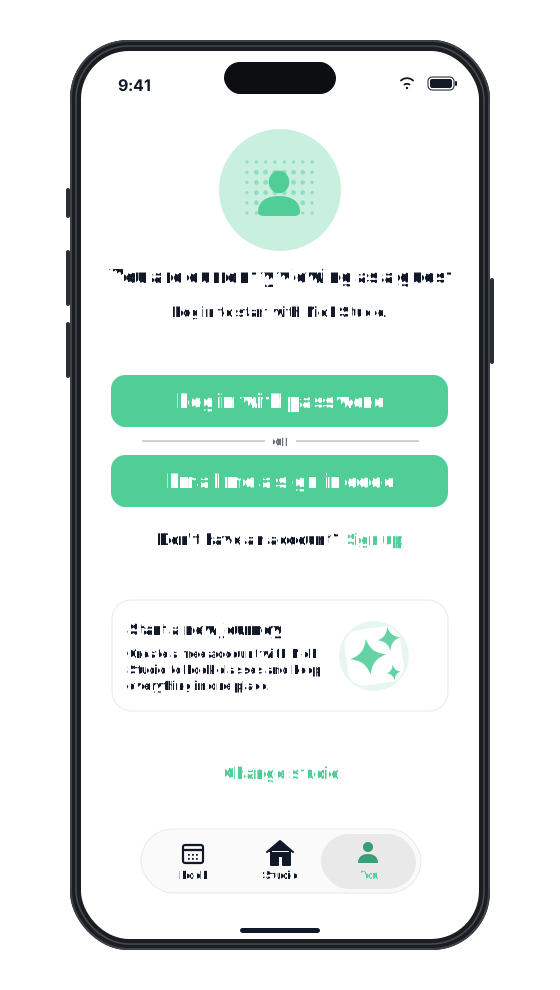
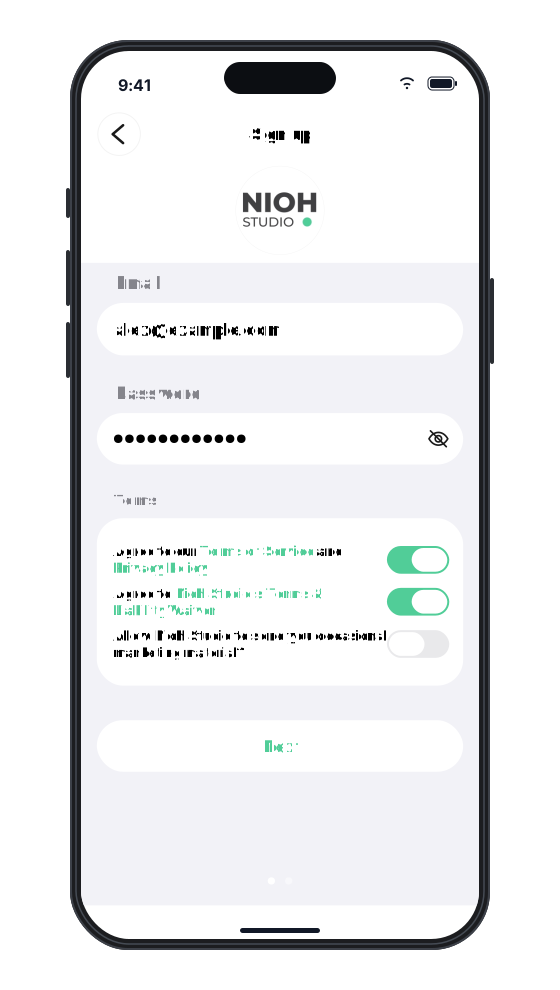
On the first sign-up screen, they enter their email and password, review and accept the terms and studio waiver, then tap Next. Receiving marketing material is a separate, optional choice.
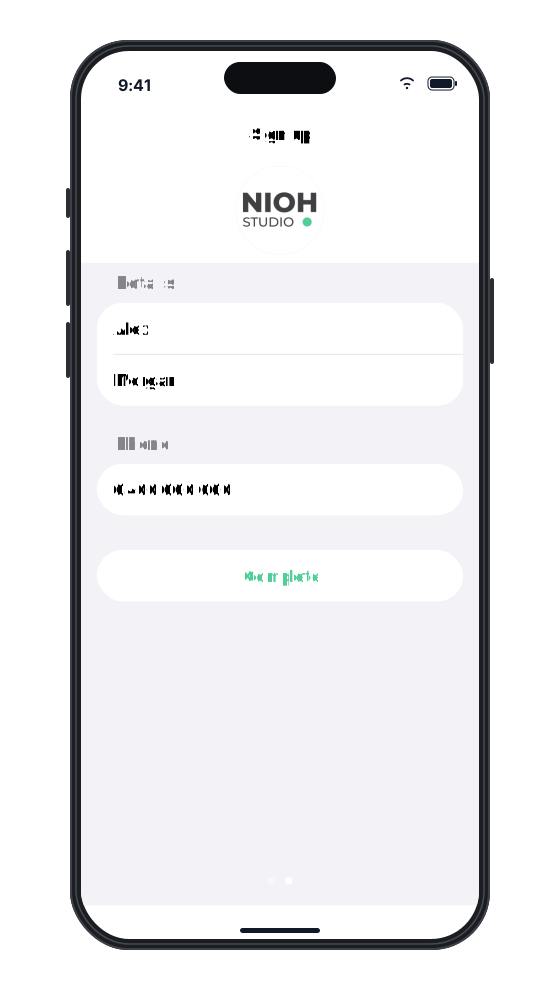
On the second screen, they enter their first name, last name and mobile phone, then tap Complete. They return to the studio in the app, signed in and ready to purchase or book.
4. Receive a welcome email
The customer receives a welcome email from your studio. It can introduce your studio and show products, instructors and locations, according to your welcome email settings.
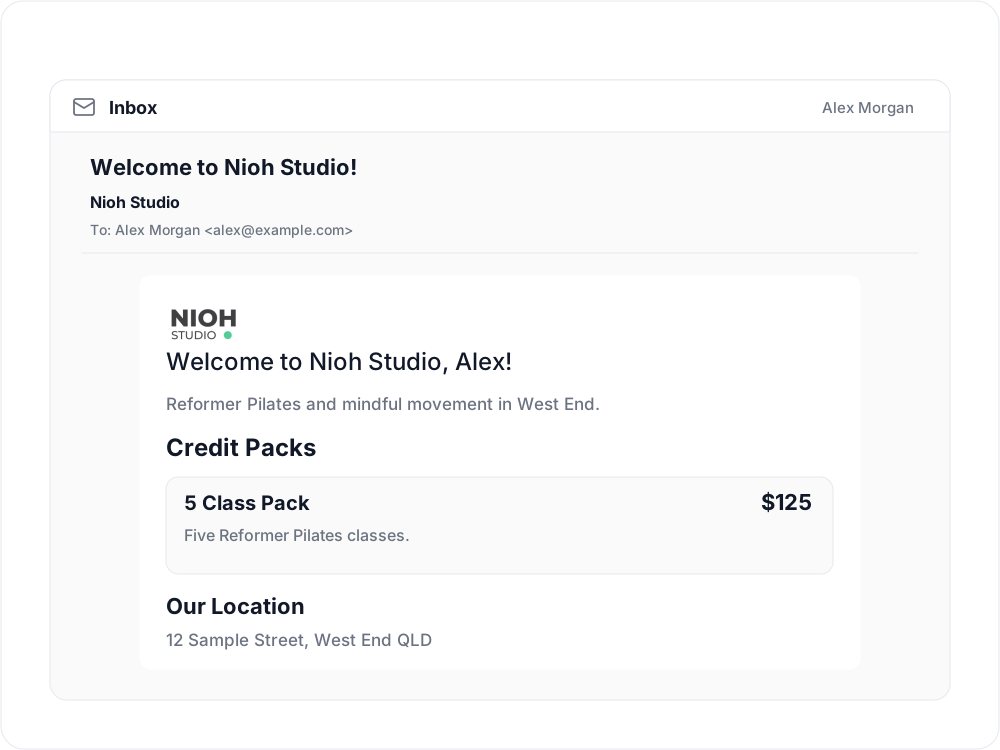
If you send forms automatically, the email also directs them to complete those forms in the Clovo app.
5. Purchase a class pack in the app
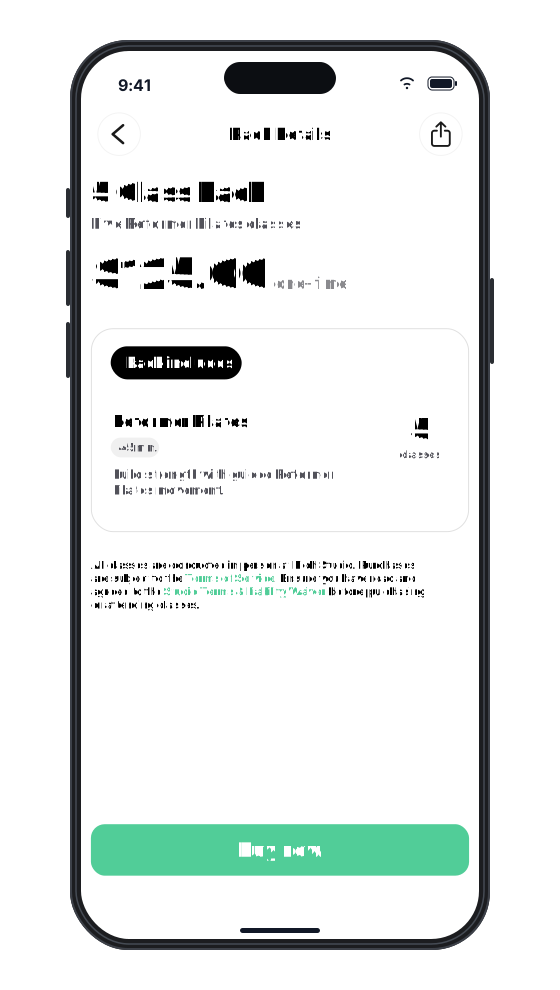
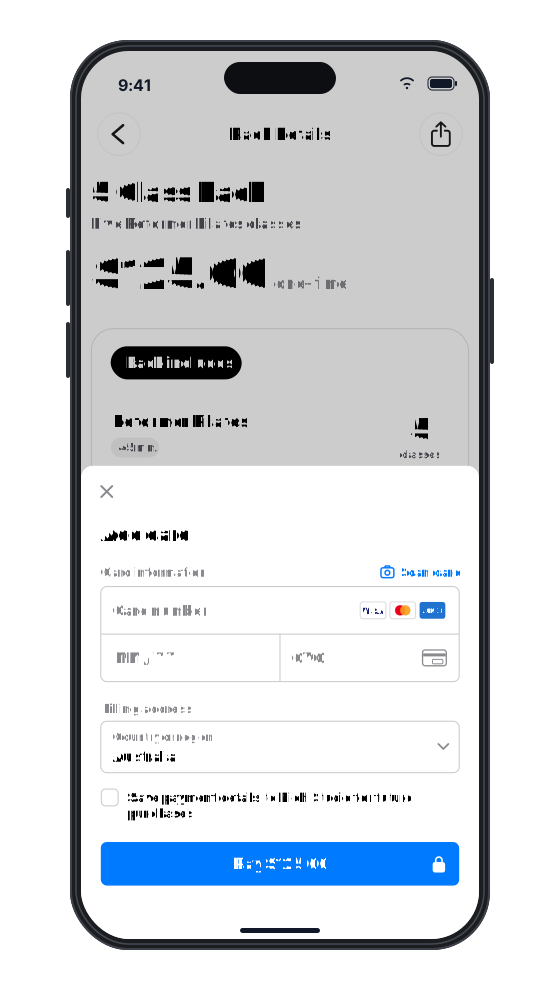
The customer opens the pack from Studio, reviews its price and included classes, then taps Buy now.
The payment sheet opens inside the app. They enter their payment details and confirm payment. This example shows a card payment; the methods and fields available can vary.
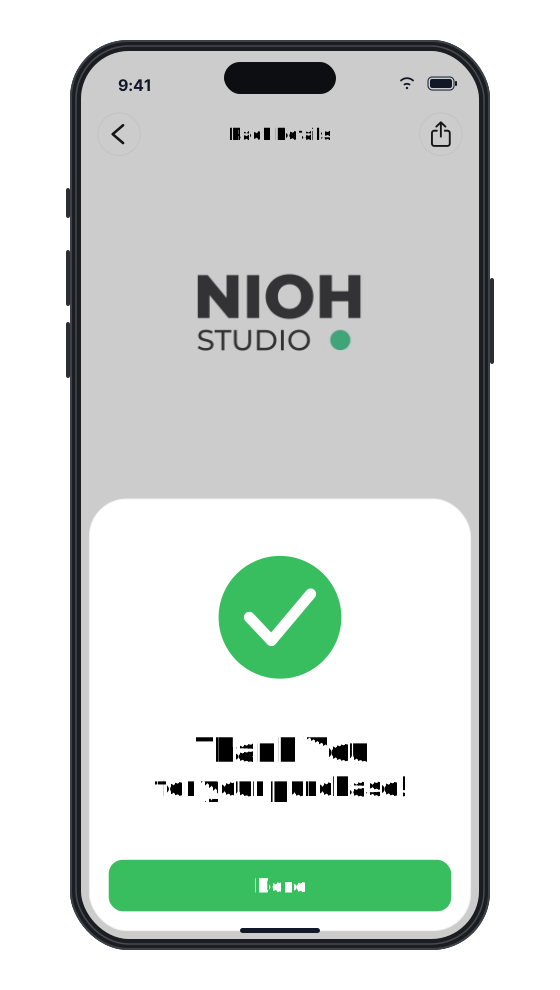
After payment succeeds, the customer taps Done on the purchase confirmation to return to the studio. Buying a pack does not reserve a class: they still need to choose a session and confirm a booking.
6. Receive purchase details and a receipt
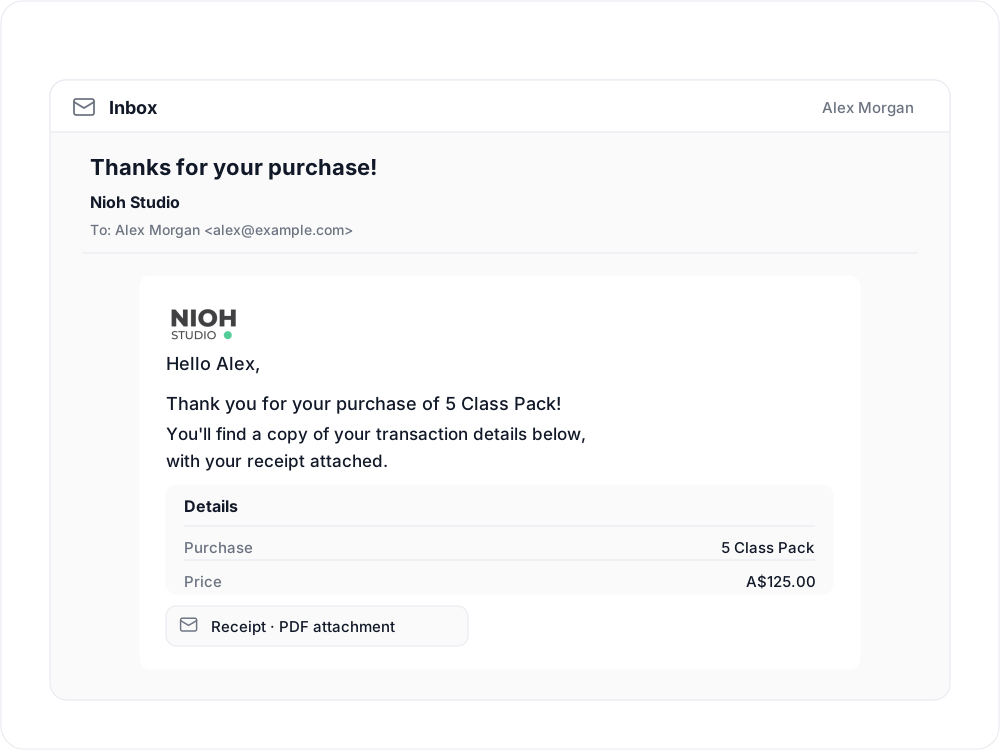
The Thanks for your purchase! email shows the product and price, with a receipt attached. If you enable a custom after-purchase message for the product, the customer also receives that separate message.
7. Choose and book a class in the app
The customer opens Book, chooses a day or browses All upcoming, and taps a class.
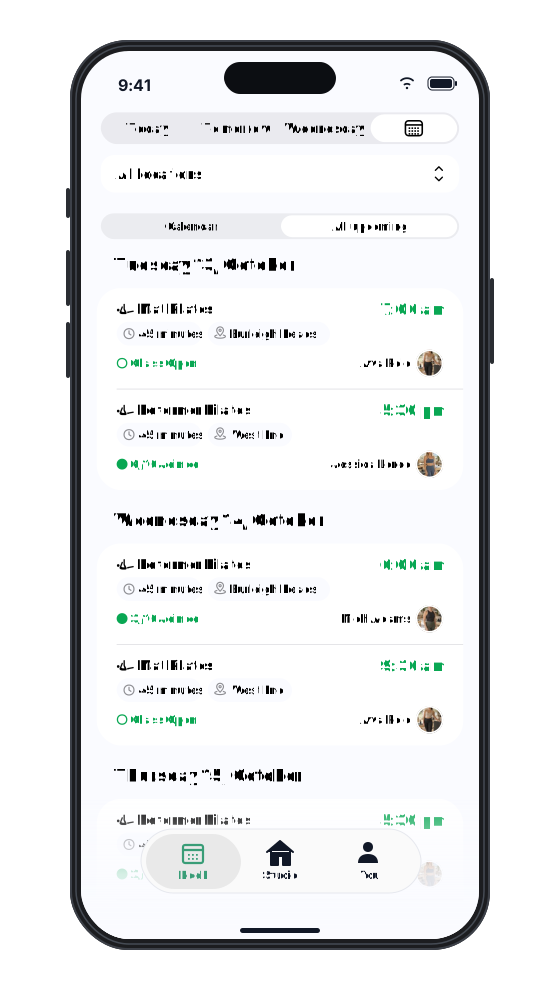
They review its time, instructor, location and availability, then tap Book.
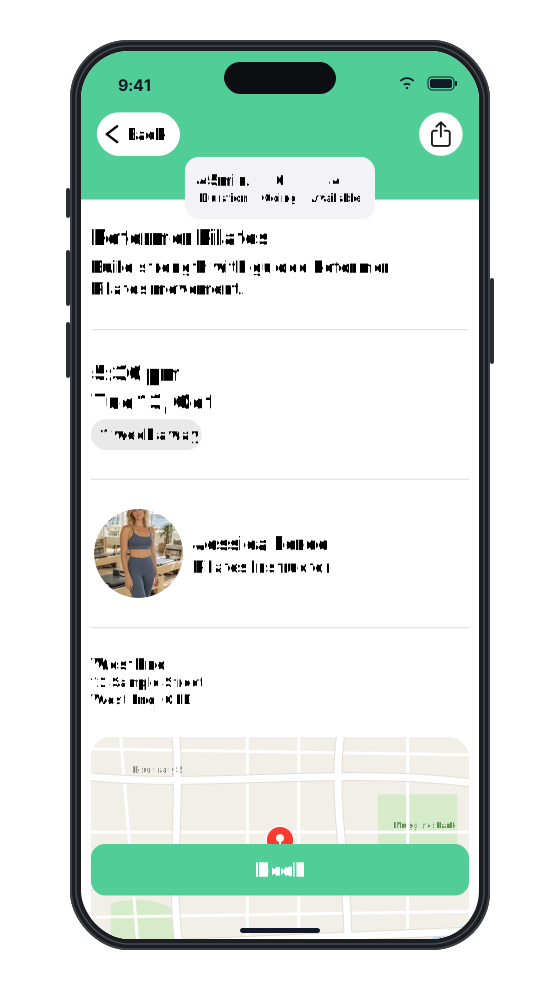
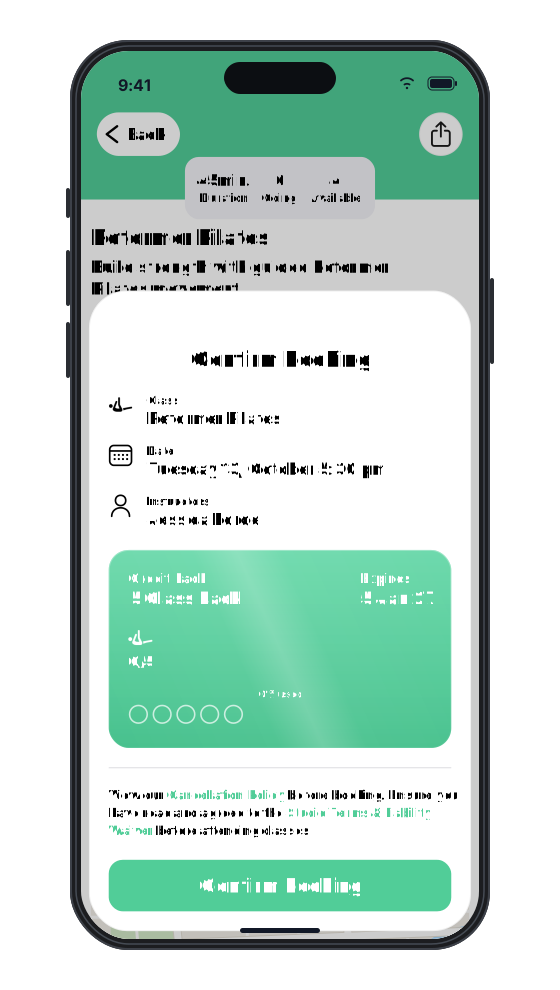
On Confirm Booking, they check the class details and the pack or membership selected to use. If they have several eligible products, they can choose which one to use.
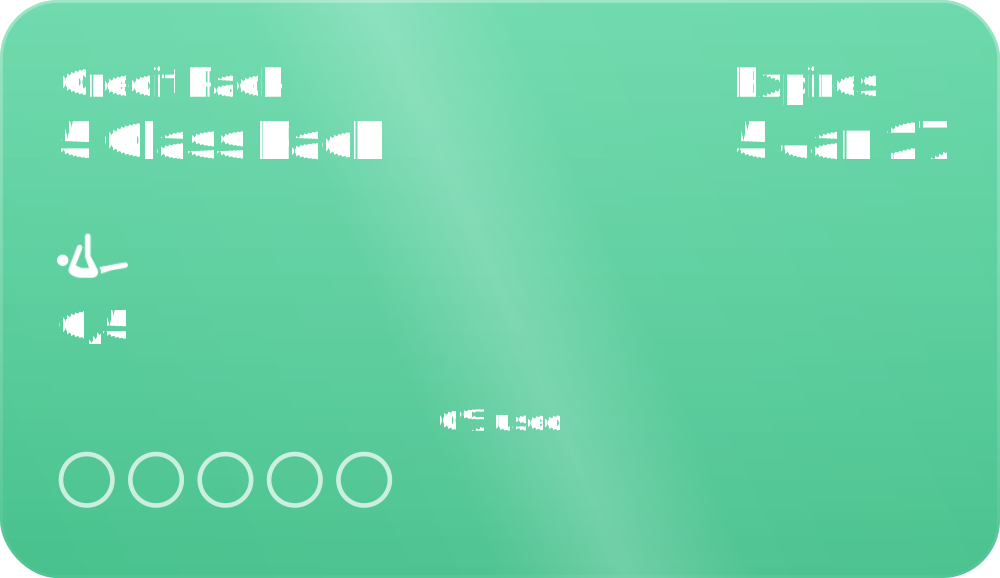
They review the cancellation policy and studio waiver links, then tap Confirm booking to reserve their place.
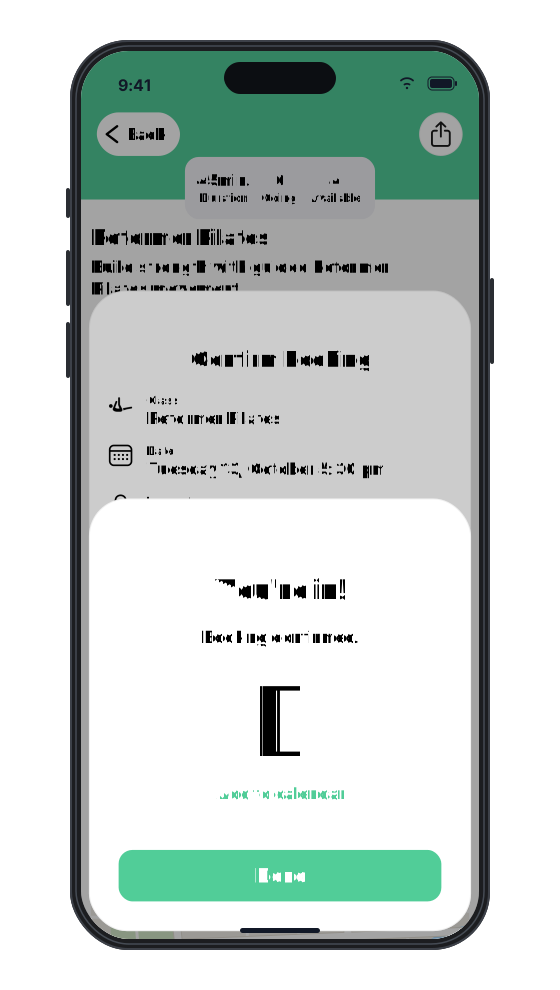
8. See and receive booking confirmation
The app confirms the booking. The customer can tap Add to calendar, or Done to return to the app. They can find their upcoming booking under You → Bookings.
The You’re booked! email includes the class, date, time and location.
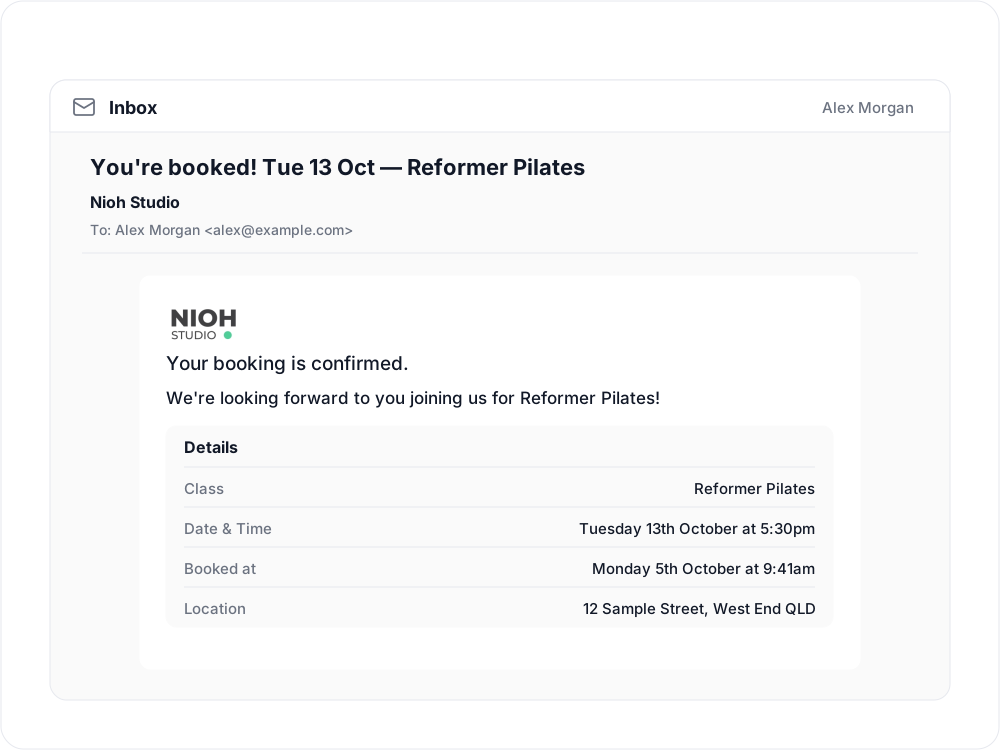
If you enable a custom after-booking message for the class, the customer also receives that separate note, such as arrival instructions or what to bring.
9. Get a reminder before class
For a verified studio, Clovo sends booking reminders between 6:00 PM and 9:00 PM the evening before class, using the class location’s time zone. Each customer chooses push, email, both or neither.
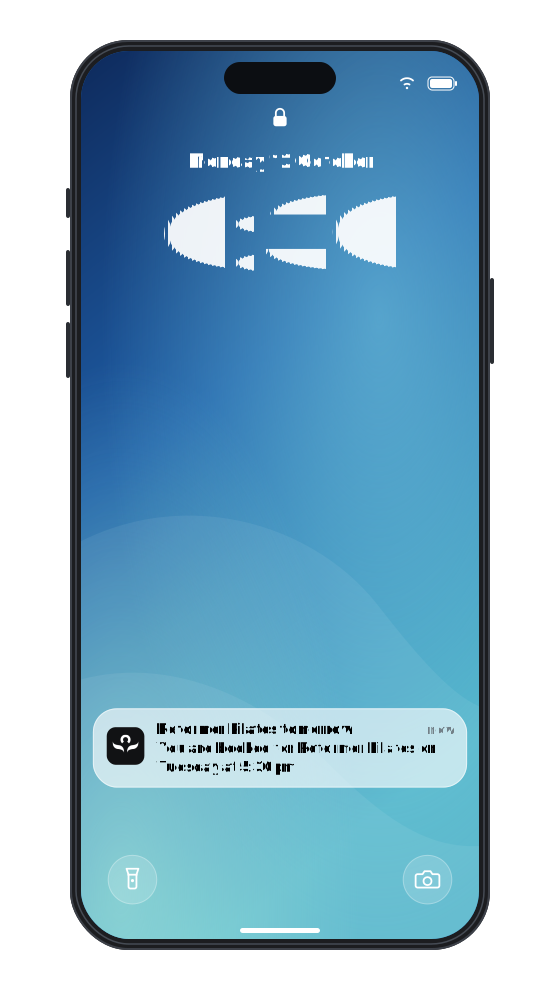
When push reminders and phone notification permission are enabled, the customer can see the reminder on their phone without opening Clovo.
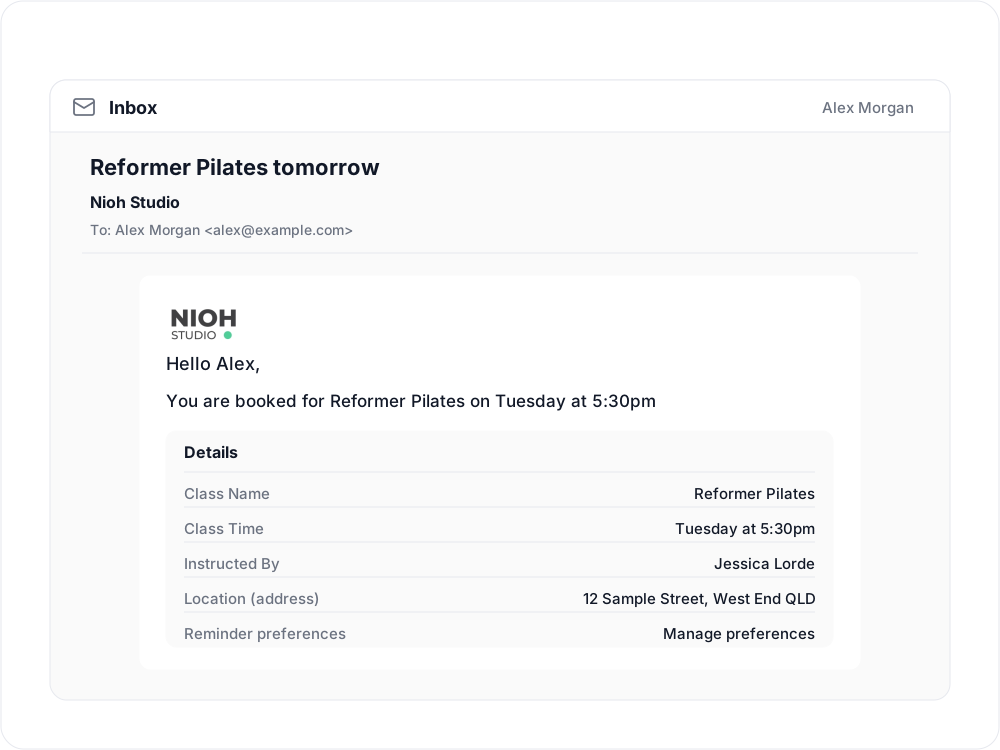
The email reminder also includes the instructor and address.
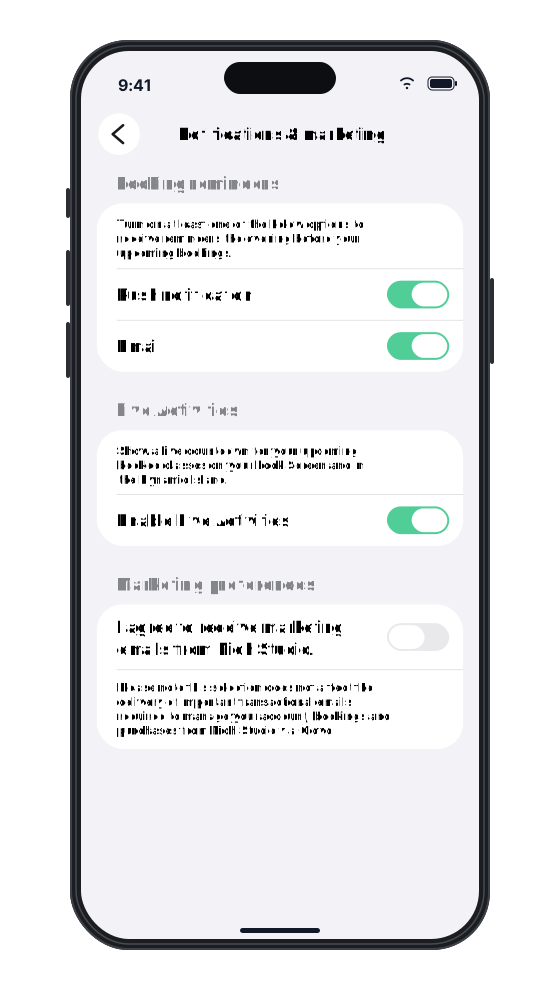
To change their reminder preferences, the customer opens You → Account settings → Notifications & marketing → Booking reminders. They can also use Manage preferences in the reminder email.
Customers who book after the evening reminder window receive a booking confirmation, but no reminder that evening.
Related articles
How to manage your studio from an iPad
Use the Clovo iPad app to manage classes, clients and staff tasks, or run a self-serve check-in kiosk.
Get started in the Clovo app when your studio moves to Clovo
Your studio now takes bookings through Clovo and has already set up your account. Download the app, find your studio, then sign in with a code sent to your email or set a password with a reset.
Book a client into a class from the studio dashboard
Book a client into a class from Clovo Dashboard when they call, walk in, or ask your team to make the booking for them.
Set up late cancellation and no-show penalties
Set late cancellation and no-show rules, choose credit forfeiture or membership-only fees, and check the penalties applied to bookings.