
Add your terms & liability waiver

Tobias Gundry
Updated
Add your studio’s terms and liability waiver in Clovo Dashboard so new members can review it when they sign up.
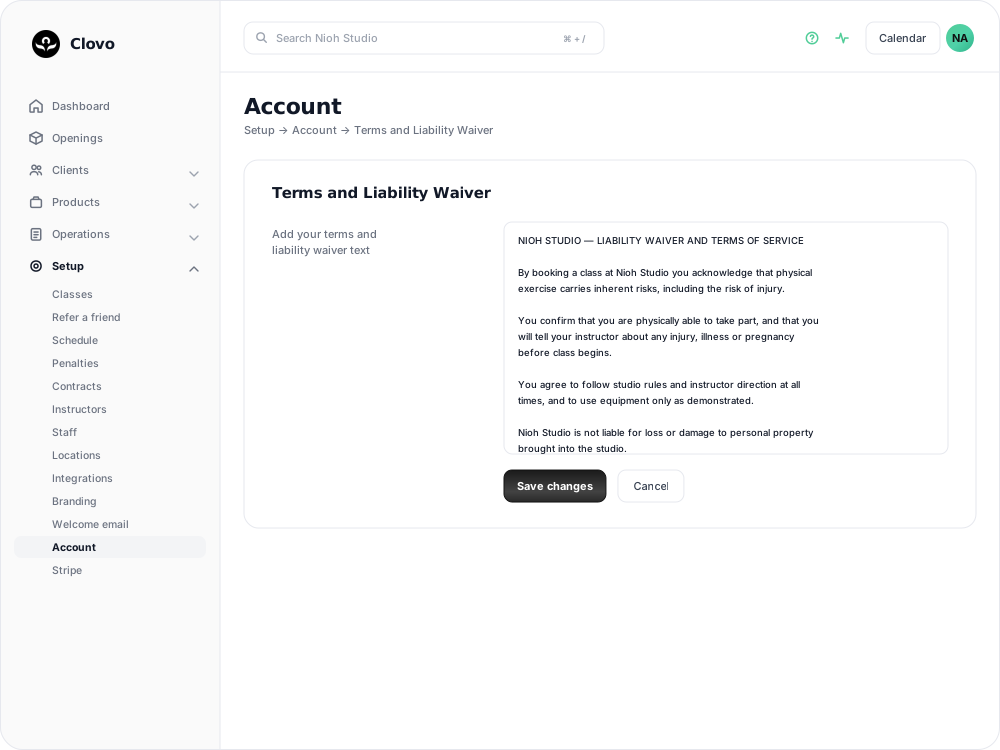
Add a waiver agreement
- Sign in to Clovo Dashboard.
- Go to Setup → Contracts and select the Terms & Liability Waiver tab.
- Paste the wording approved for your studio and location into the field.
- Select Save changes.
The waiver is then available for new members to read and accept when they sign up.
Tips
- Review regularly: Periodically review the agreement for changes to your business, safety practices, and applicable requirements.
- Use accessible language: Aim for wording members can understand while retaining the legal terms your adviser recommends.
- Track completion: Keep a record of signed waivers and contact members whose waiver is still outstanding.
If you need help adding the waiver to Clovo, contact the support team. Questions about the waiver’s legal wording should be directed to an appropriately qualified adviser.
Related articles
Change the reply to address for your studio
Choose where client replies go for announcements, bookings, purchases and other studio emails.
Understand the meaning of different plan statuses in Clovo
Use the status beside a client’s membership, credit pack or trial to understand whether they can use it and when their access changes.
Change the address shown on invoices
Choose your business address or a studio location as the From address on new client invoices and receipts.
Customise your dashboard layout
Turn dashboard cards on or off, put them in the order you want, and choose where the activity timeline sits — all saved to your own staff account.