Author: user

Showcase your studio’s talent with trainer profiles

Showcase your talented training staff with trainer profiles in Clovo Studio. These profiles not only give clients a glimpse into your team but also enhance their experience by highlighting the professionals behind the classes. Follow these steps to create engaging trainer profiles.

Step-by-Step Guide to Creating a Trainer Profile

  1. Navigate to Trainer Profiles:
    • In the dashboard, expend the ‘Setup’ menu and find ‘Profiles’.
  2. Add a New Trainer Profile:
    • Click on ‘Add Profile’ and enter the trainer’s name, professional title, and upload a profile photo.
  3. Write a Biography:
    • Include a short but informative biography that highlights the trainer’s expertise and personality.
  4. Save the Profile:
    • Once all details are added, click on ‘Save’ to create the trainer profile. The profile will now be published and visible in client apps.

Importance of Trainer Profiles

Trainer profiles serve as a powerful tool to:

  • Showcase talent: Highlight the expertise and skills of your training staff.
  • Build trust: Clients feel more connected and confident when they know the professionals behind the classes.
  • Personalise experience: Match clients with trainers based on their preferences and goals.

Flexibility of Trainer Profiles

It’s important to note that trainer profiles are not connected to user accounts. This allows studios to:

  • Decouple admin staff: Keep trainer profiles separate from admin roles if needed.
  • Maintain flexibility: Easily update and manage trainer profiles without affecting other aspects of the studio management.

By creating engaging trainer profiles, you enhance the overall experience for clients and create a stronger connection between them and your studio.

Offer popup classes for one-off unscheduled offerings for your clients

Sometimes you want to offer a one-off class that is outside of your normal day to day schedule. Clovo has built-in support for these occasions, allowing you to use your usual booking app to run these one-off classes with the same convenience as your usual schedule.

To create a one-off class, login to Clovo Studio and then:

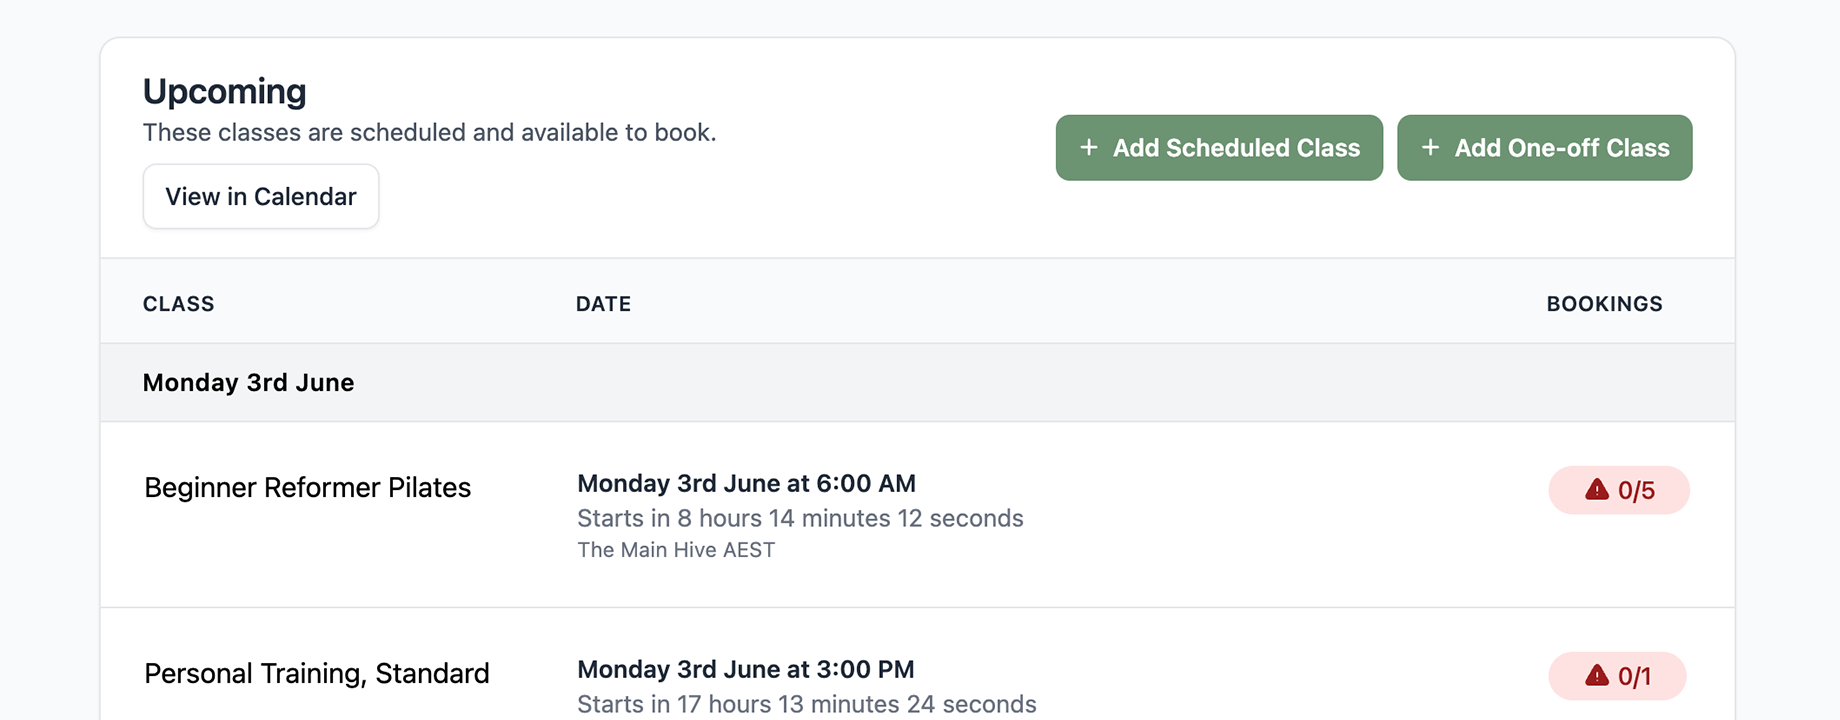
  1. Click into the ‘Upcoming Classes’ screen
  2. In the top right click the ‘Add Pop-up’ button
  3. Choose the date and time of the class

One-off classes do not observe the ‘schedule days ahead’ setting for your studio and will be scheduled immediately no matter how far in the future it is scheduled. Your clients will be able to book the class immediately.

  1. Choose the class type, location and trainers
  2. Click ‘Create’

The pop-up class will now immediately be available for booking, regardless of how far in the future it is scheduled.

How to offer secret deals on your plans and packs

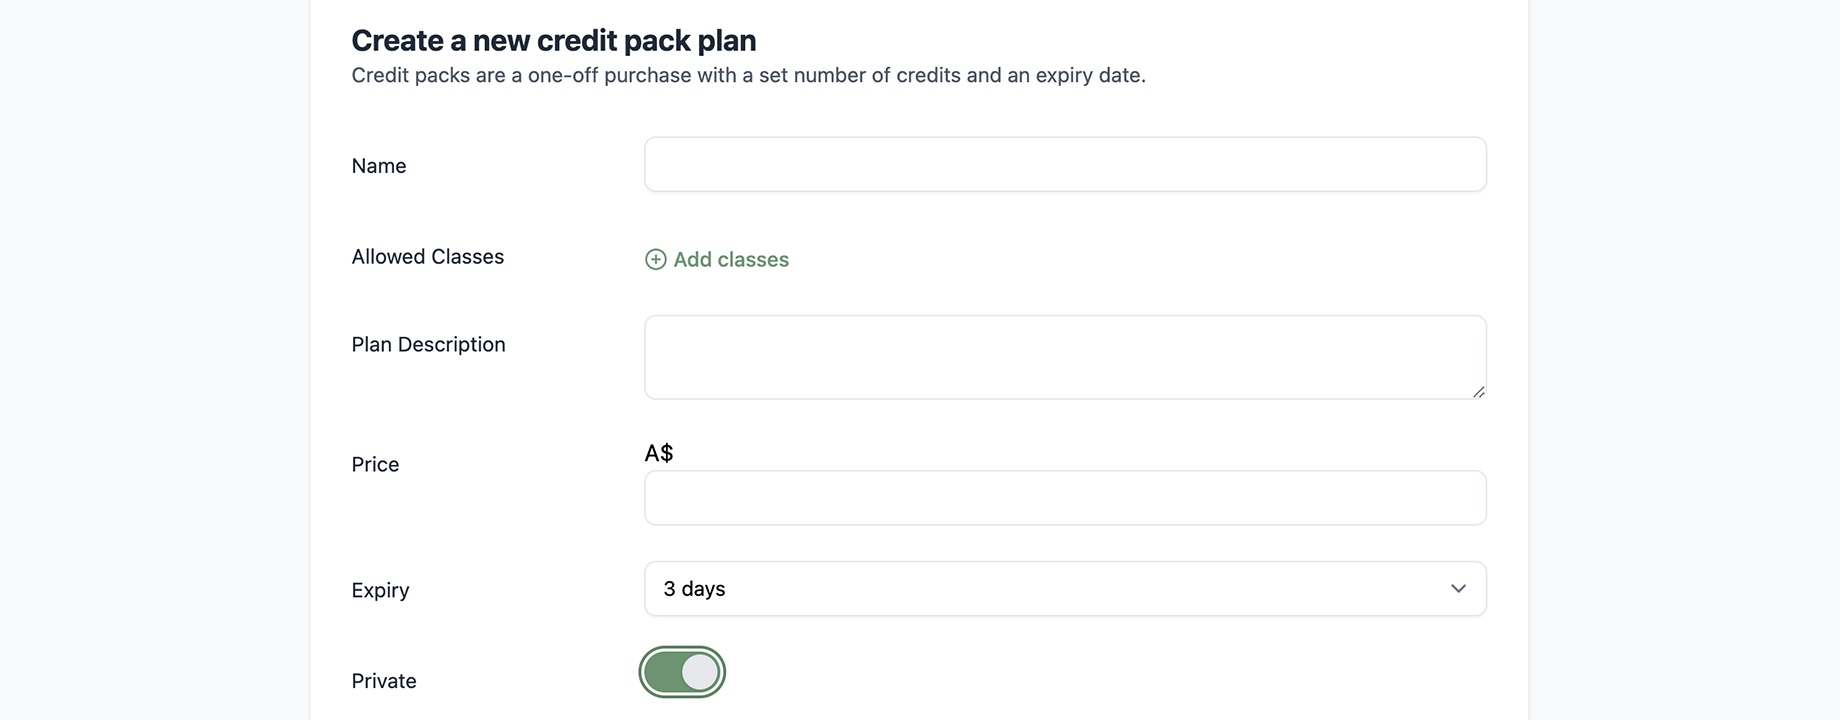
Want to offer exclusive credit packs or memberships to specific clients? Some deals are just too good to make public or are super tailored to a specific client’s needs. Clovo Studio makes it easy to create and manage private plans tailored to individual needs. Follow these steps to get started.

Step 1: Creating the Private Plan/Pack

  1. Log In to Clovo Studio:
    • Use your admin credentials to log in to Clovo Studio.
  2. Navigate to Membership/Plans:
    • In the dashboard, go to the Membership or Plans section.
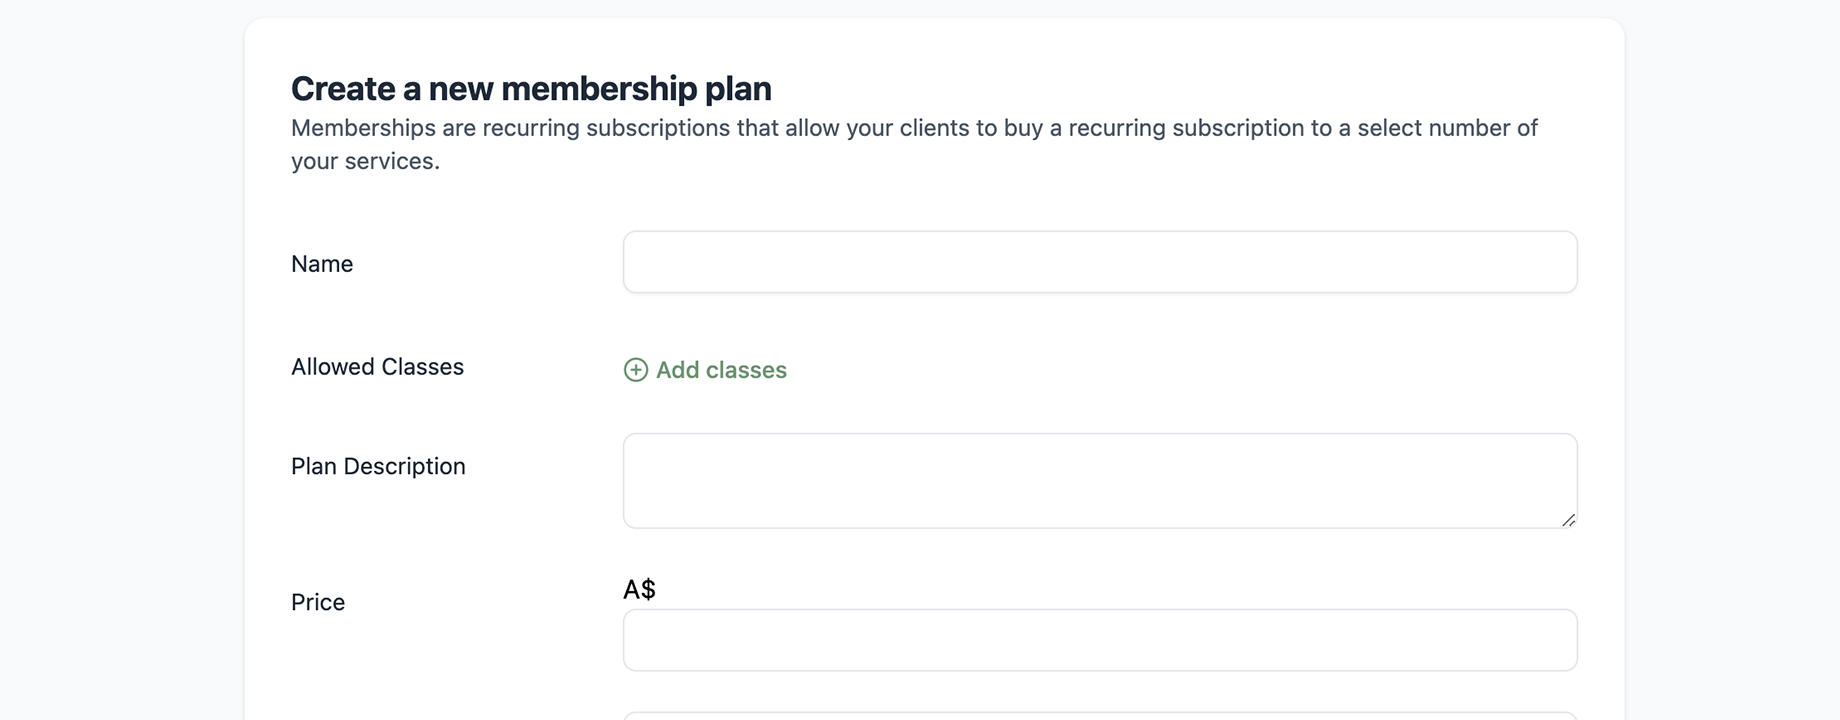
  3. Create a New Membership/Credit Pack:
    • Click on ‘Create New’ and fill in details like name, pricing, and benefits.
  4. Toggle the ‘Secret deal’ Switch On:
    • In the plan settings, turn on the ‘Secret deal’ switch to make it exclusive.

Step 2: Giving Access

  1. Find the Client(s):
    • Navigate to the Clients or Users section.
  2. Add the Plan to Their ‘Secret deals’ Tab:
    • In the client’s details, go to the ‘Private Plans’ tab and add the plan.
    • Your client will now be able to see the private plan when they tap on their ‘You’ tab in app.
    • Clients will be notified that they have been given private access.

Step 3: For Clients, View and Purchase Private Plans

  1. Access the Private Plan in Clovo Client Apps:
    • Clients can view and purchase private plans under the ‘You’ tab in their Clovo client apps.
    • Only the clients you gave access to in Section 2 can view or purchase the plan in this way.
    • The clients with access can purchase as per any other plan or pack in Clovo.

Quick Tips

  • Personalise Your Offerings: Tailor private plans to specific client preferences for a personalised experience.
  • Communicate Clearly: Inform selected clients about their access to private plans and how to purchase them. Clients will be notified automatically when given private access.
  • Review and Update: Regularly review and update private plans to keep them relevant and ensure the right clients have access.

Change the branding of your client’s Clovo apps

Whether it’s your client app running on your client’s iOS or Android device, landing pages, transactional emails, or invoices – you want every touch point your client has with your studio to be wrapped in the brand you’ve lovingly crafted for your business.

By setting a few simple fields in the Clovo dashboard, your brand will spread throughout all of your Clovo components such as client apps and landing pages. If at any stage your brand changes, you can easily update it again at any time – with updates being pushed out platform wide instantly.

Change your branding

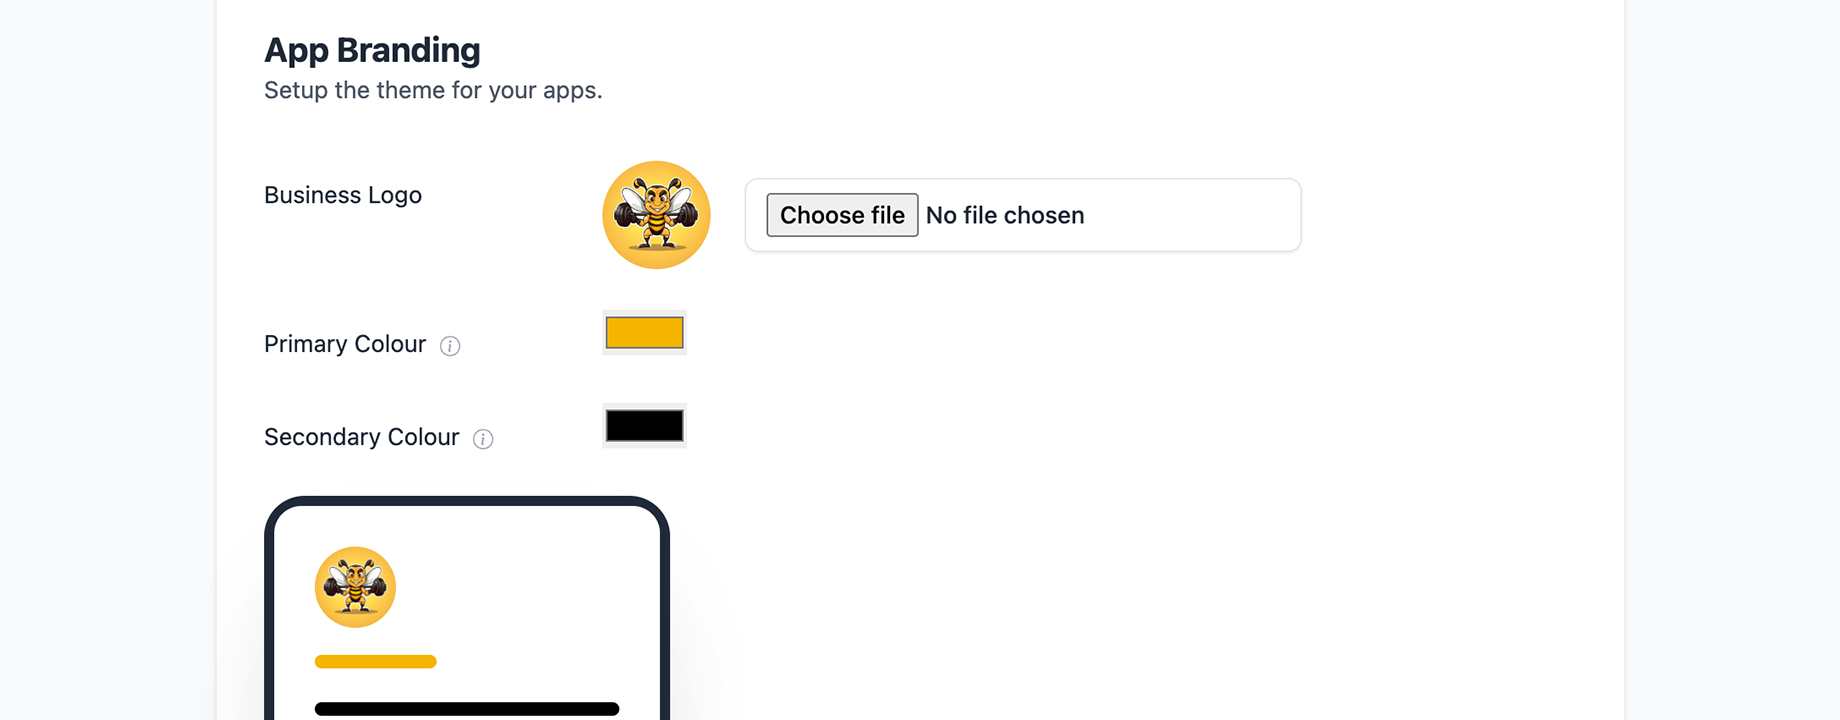
Go to Settings > Apps

  1. Choose Primary and Secondary Colours:
    • Use the colour wheels to select primary and secondary colours that represent your brand. The primary colour is the colour that will be used most prominently throughout your apps, pages and other Clovo branded platform components.

      The secondary colour will be used sparingly if at all, depending on the platform.
  2. Select a Logo:
    • Upload your logo that reflects your studio’s personality.

That’s it – you’re done. When you save changes all of your branded Clovo components such as iOS apps, Android apps, landing pages, etc. will all update to match the branding you just entered.

Remember to check all components

  • Check your client apps after updating to ensure the branding looks as you intended.

Additionally check your landing pages and other Clovo components to ensure your brand looks on point across all touch points throughout the Clovo platform.

Add additional admin staff to your studio

Ready to lighten your load and bring in some extra hands to help manage your studio? Adding additional admin staff to your Clovo Studio dashboard is a breeze. Here’s how you can get it done at no extra cost.

Step-by-Step Guide to Adding Additional Admin Staff

  1. Log In to Your Clovo Studio Dashboard:
    • Start by logging into your Clovo Studio account with your admin credentials. This gives you access to all the management features you need.
  2. Contact Clovo Support:
    • To add more admin staff, you’ll need to reach out to our friendly Clovo support team. They’re here to help you get set up quickly and efficiently.
  3. Submit Your Request:
    • Contact Clovo support via email or through the in-app support chat. Provide them with the details of the new admin staff members you’d like to add, such as their names and email addresses.
  4. Wait for Confirmation:
    • Our support team will handle the rest! They’ll add the new admin staff to your studio account and send you a confirmation once everything is set up.
  5. You’re All Set!:
    • Your new admin staff members can now log in to Clovo Studio and start helping you manage bookings, payments, and more.

Quick Tips

  • Stay Organised: Make sure you keep track of who has admin access to ensure your studio’s management runs smoothly.
  • Regular Updates: Keep your admin staff list up-to-date by removing any members who no longer need access.

Adding additional admin staff is simple and hassle-free with Clovo Studio. If you need any more help, feel free to reach out to our support team. We’re here to make your studio management as smooth as possible.

Change the date and time of existing openings

As a busy studio owner, keeping your class schedule flexible is key. Sometimes, you need to tweak the date or time of an existing class opening to accommodate everyone’s needs. With Clovo Studio, making these changes is a breeze. Here’s how to do it in just a few simple steps.

Step-by-Step Guide to Changing Class Dates and Times

  1. Log In to Your Clovo Studio Dashboard:
    • Grab your device and log in to your Clovo Studio account. Enter your credentials to access the dashboard where the magic happens.
  2. Find the Class Opening:
    • Once logged in, navigate to the “Classes” or “Schedule” section of your dashboard. Here, you’ll see a list of all your upcoming class openings.
  3. Select the Class to Change:
    • Browse through the list and find the class opening you need to adjust. Click on the class to open its details.
  4. Click the ‘Change Time’ Button:
    • Within the class details, look for the ‘Change Time’ button. This is your gateway to updating the date and time. Click it to proceed.
  5. Set the New Date and/or Time:
    • A new window or form will appear where you can set the new date and/or time for the class. Use the calendar and time picker to select the new schedule.
  6. Confirm the Change:
    • Once you’ve set the new date and time, click the ‘Confirm Change’ button to save your updates. Your class schedule is now updated!

Quick Tips

  • Double-Check Your Changes: Before confirming, make sure the new date and time don’t clash with other classes or events.
  • Notify Your Clients: Once the change is confirmed, notify your clients about the new schedule. Use Clovo Studio’s communication tools to send out updates.
  • Stay Organized: Regularly review your class schedule to ensure everything is up-to-date and avoid any last-minute changes.

By following these steps, you can easily adjust your class schedule to fit your needs and keep your studio running smoothly. If you need any more help, feel free to reach out to our support team. We’re here to make your life easier.

Add a liability waiver for your studio

Running a tight ship at your gym or studio means keeping everything in order, including your waiver agreements. Ensuring every member signs a waiver not only protects your business but also sets clear expectations. Here’s how you can easily add a Gym/Studio Waiver agreement to your studio in the Clovo Studio dashboard.

Step-by-Step Guide to Adding a Waiver Agreement

  1. Log In to Your Clovo Studio Dashboard:
    • Fire up your computer or mobile device and log in to your Clovo Studio account. If you’re not already logged in, enter your credentials to access the dashboard.
  2. Navigate to the Settings Menu:
    • Once you’re in, find the settings icon (the gear icon) in the main menu. Click it to open your studio’s settings.
  3. Go to the Waiver Agreements Section:
    • In the settings menu, look for the “Waiver” tab. Click on it to access the waiver management section.
  4. Input Waiver Details:
    • In the available space, paste the text of your waiver agreement. Make sure it includes all necessary legal and safety information.
  5. Save and Publish:
    • Once you’ve entered all the details, click the “Save” button to make the waiver active.
    • The waiver will now be available for new members to view when signing up to your studio.
  6. Communicate with Your Members:
    • Notify your members about the new waiver agreement. You can do this via email, in-app notifications, or during their next visit.

Quick Tips

  • Review Regularly: Periodically review your waiver agreements to ensure they are up-to-date with the latest legal and safety standards.
  • Clear Communication: Make sure the language in your waiver is clear and easy to understand. Avoid legal jargon that might confuse your members.
  • Stay Organized: Keep track of who has signed the waiver and follow up with members who haven’t completed it yet.

By following these steps, you’ll ensure that your waiver agreements are properly set up and that your studio is protected. If you need any more help, feel free to reach out to our support team. We’re here to keep your business running smoothly.

Changing what notifications you receive as a studio admin

We know your day is packed with sessions, client check-ins, and all things health and wellness. Staying on top of notifications is crucial, but sometimes, you need a little peace and quiet. Here’s how you can easily toggle your notifications on and off to keep your workflow smooth and your sanity intact.

Step-by-Step Guide to Toggle Notifications

  1. Log In to Your Studio Account:
    • Grab your favorite device and log in to your studio account. It’s the first step to notification bliss.
  2. Go to your admin profile:
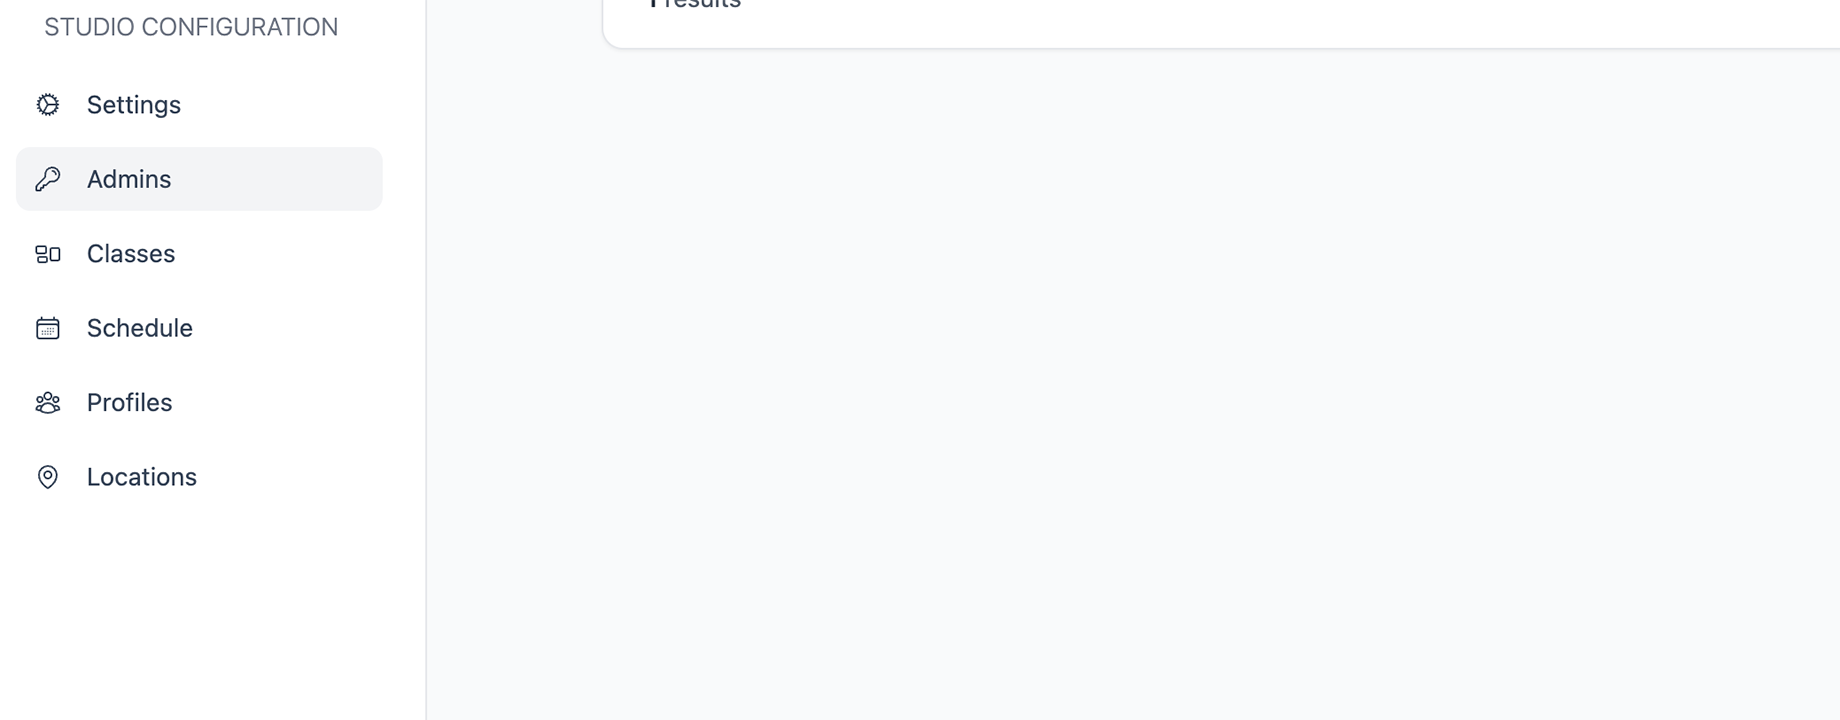
    • Once you’re in, navigate to your own user profile under the ‘Admins’ section of the Clovo Studio navigation sidebar.
  3. Navigate to Notifications:
    • At the bottom of your profile, look for the “Notifications” card. This is your control centre for all things alert-related.
  4. Toggle Notifications On/Off:
    • You’ll see a list of different types of notifications you can receive. Each type has a toggle switch next to it. Want to turn off new booking alerts but keep cancellation notices? Simply switch them on or off according to your preference.
  5. Save Your Preferences:
    • Don’t forget to hit “Save” after making your changes. This ensures your new settings are locked in.
  6. You’re All Set!:
    • That’s it! You’ve now customized your notifications to fit your busy lifestyle. Enjoy the perfect balance of staying informed without being overwhelmed.

Quick Tips

  • Test It Out: Toggle a notification off and on to make sure it’s working as you expect.
  • Stay Flexible: Adjust your settings as your needs change. You can always come back and tweak things.
  • Stay Informed: Critical alerts like cancellations or payment failures might be best kept on, just so you’re always in the know.

By following these steps, you can make sure you’re getting the right information at the right time. Now, go forth and conquer your day with the perfect notification setup!

If you need any more help, feel free to reach out to our support team. We’re here to keep you moving forward.

Send a client a password reset

If your clients are having trouble accessing their accounts, you can easily help them reset their passwords. Follow these steps to send a password reset to your clients:

  1. Log in to Clovo Studio:
    • Use your studio owner credentials to log in to the Clovo studio dashboard.
  2. Navigate to the Client Management Section:
    • In the dashboard, locate and click on the “Clients” section. This section allows you to manage all client accounts.
  3. Search for the Client:
    • Use the search bar or browse to find the client who needs a password reset.
  4. Select the Client:
    • Click on the client’s name to open their account details.
  5. Send Password Reset:
    • Click the ‘Send Password Reset’ button to send a password reset email to the client.
  6. Confirm the Action:
    • When prompted, confirm that you want to send the password reset email.
  7. Notify the Client:
    • Inform your client to check their email for the password reset link. Make sure they check their spam or junk folder if they don’t see it in their inbox.
  8. Assist as Needed:
    • If the client encounters any issues during the process, be ready to assist them further.

By following these steps, you can quickly and efficiently help your clients regain access to their accounts. If you encounter any issues or need further assistance, please contact our support team.

Create introductory offers for new clients

Clovo makes it possible to offer introductory offers to new clients. Introductory offers are a great way of bringing new clients in either without offering a free short term trial or as a next step following a free trial.

In Clovo, an introductory offer is an option set on a credit pack.

To create an introductory offer, first login to Clovo Studio then:

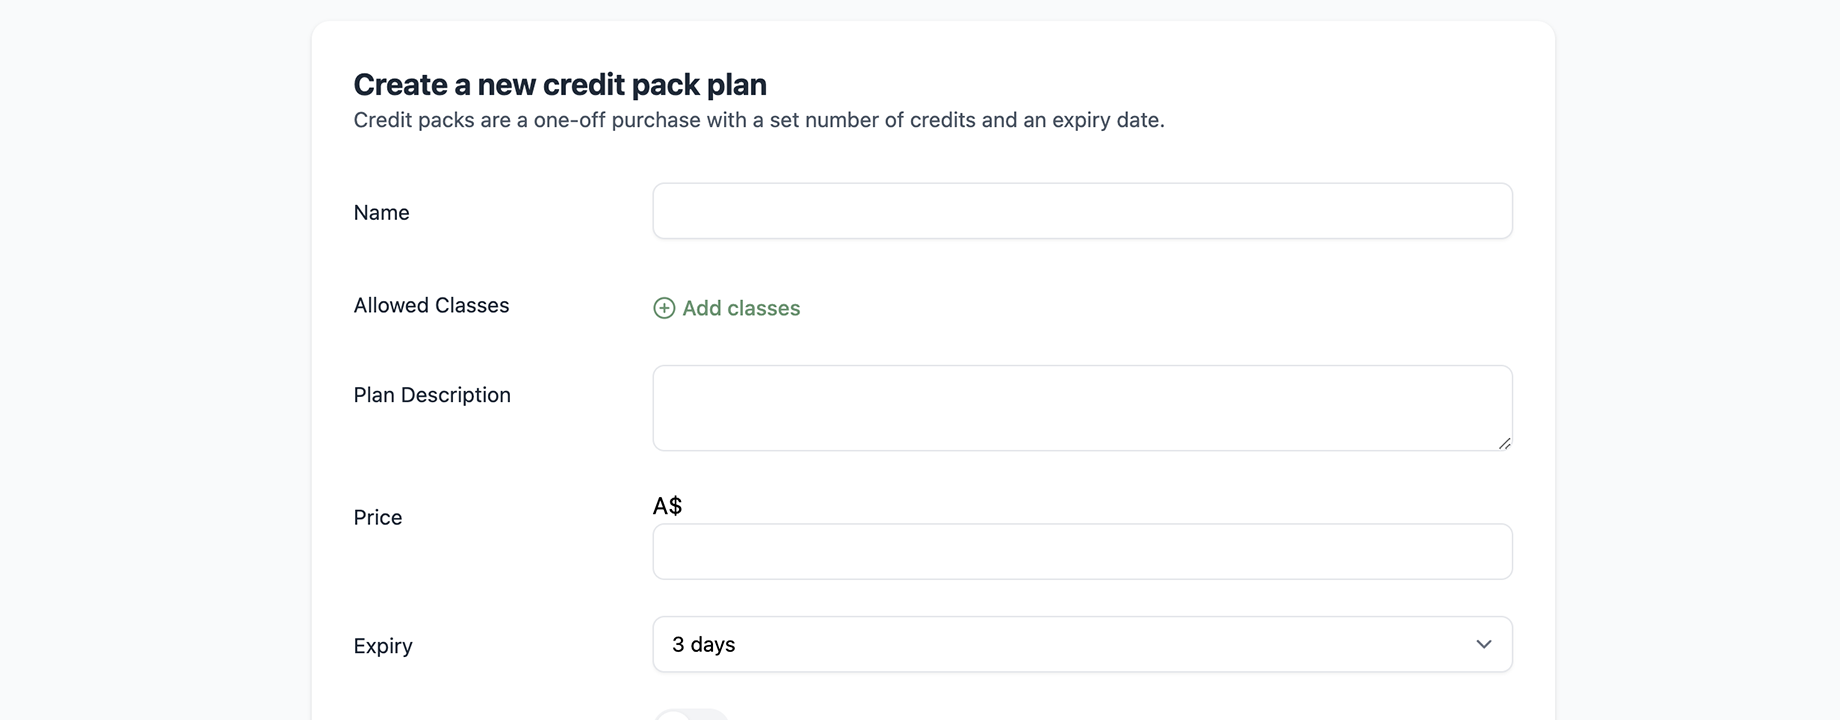
  1. Go to ‘Packs’ under the ‘Services’ section of the navigation sidebar
  2. Click ‘Add Pack’ and fill in the details of your offer on the screen that appears
  3. Toggle the ‘One Time Purchase’ switch to on
  4. Toggle the ‘Special Offer’ switch to on

You’re done! You’ve just created an introductory offer that can only be purchased once and will be displayed prominently in your client apps.